A precise toolpath is only useful when the workpiece stays where it belongs. If a part shifts, lifts, or bends during cutting, even a carefully programmed CNC machine can produce an inaccurate result. Workholding connects the part, the machine, and the machining process.
So, what are jigs and fixtures? Both are manufacturing aids, but they perform different jobs. Understanding those jobs helps you choose practical tooling, reduce setup problems, and achieve more consistent parts. This guide explains their differences, common types, materials, and the steps involved in selecting and developing tooling for CNC production.
What Are Jigs and Fixtures?
Jigs and fixtures position and hold workpieces during manufacturing. A jig also physically guides a cutting tool, while a fixture establishes and maintains the workpiece’s position without guiding the cutter. This distinction explains why drill jigs are useful for guided holemaking and fixtures are central to CNC workholding.

What Is a Jig?
A jig combines workpiece location with a guide for the tool performing an operation. A drill jig, for example, may contain hardened bushings that direct a drill into specific positions on a part.
Imagine making the same mounting-hole pattern in a series of brackets on a drill press. The operator loads each bracket against the jig’s locating features, secures it, and drills through the bushings. The jig provides a physical reference for the hole locations, reducing the need to mark out each bracket separately.
The term “jig” is sometimes used more loosely in workshops. For machining, however, tool guidance is the clearest way to distinguish a jig from a fixture.
What Is a Fixture?
A fixture locates, supports, and holds a workpiece while a separate system controls the cutting tool. On a CNC machine, that control comes from the machine’s axes, program, and established work coordinates.
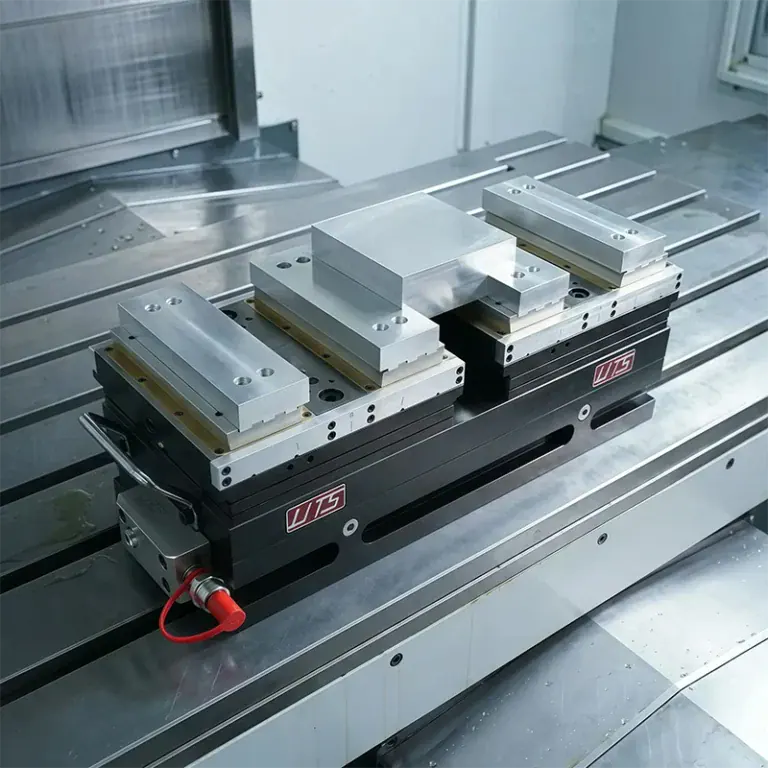
A milling vise holding a rectangular blank is a familiar example. More specialized fixtures may use shaped nests, locating pins, support pads, and clamps to hold complex parts.
The fixture must place the workpiece correctly and keep it stable under machining loads. Reliable workholding also makes loading the next part more predictable, which matters when the same setup is used repeatedly.
What Are the Main Differences Between Jigs and Fixtures?
The main difference is tool guidance: a jig guides the cutter as well as locating the workpiece, while a fixture holds the workpiece in a defined relationship to the machine. Their size, cost, and mounting arrangements depend on the application rather than a fixed rule.
Tool Guidance and Workpiece Location
Consider two ways to drill a hole pattern. With a drill jig, bushings establish the drill’s physical path. With a CNC fixture, the fixture holds the part while the program positions the drill over each hole location.
Both arrangements require accurate workpiece location. The difference is how the cutting tool reaches the required position.
| Feature | Jig | Fixture |
| Main function | Locate the workpiece and guide the tool | Locate, support, and hold the workpiece |
| Physical tool guidance | Typically provided by features such as bushings | Not provided by the fixture |
| Typical machining uses | Guided drilling and reaming | CNC milling, turning, and other machining operations |
| Mounting | Secured as required by the operation | Commonly attached to a table, pallet, or spindle |
| Example | Drill jig for a bracket hole pattern | Soft-jaw fixture for a machined housing |
Typical Operations and Machine Connections
Drill jigs are especially useful when repeated hole locations need a mechanical guide. Fixtures cover a wider range of machining setups because they can support parts while different cutters perform multiple operations.
Machine connections also matter. A milling fixture must fit the table or pallet and remain accessible to the cutter. Turning workholding must accommodate rotation, gripping forces, and the intended spindle speed. The connection is part of the tooling design, not merely a mounting detail.
Standard and Custom Tooling Costs
A simple drill jig may cost less than a dedicated hydraulic fixture, while a standard vise may cost less than a complex custom jig. Useful comparisons therefore start with the required function.
Design time, materials, precision features, purchased components, and validation all affect the initial price. Setup labor, maintenance, scrap, and useful service life determine whether that investment pays off over production.
How Are Jigs and Fixtures Used in CNC Machining?
CNC machines normally position cutting tools through programmed motion, so conventional drill jigs are less common in routine CNC operations. Fixtures remain essential because the machine still needs a stable, accessible workpiece with a known position throughout cutting.
CNC Tool Positioning and the Role of Drill Jigs
For a typical CNC drilling cycle, the program supplies the hole coordinates and the work offset connects those coordinates to the actual part. A drill bushing is therefore usually unnecessary for positioning the drill.
Jigs can still serve secondary operations outside the CNC machine, such as drilling a repeated feature on a separate workstation. Specialized guided operations may also use them when the process specifically requires physical tool support.
The practical question is whether mechanical guidance adds value to that operation. Adding a jig simply because the part contains holes introduces tooling that the process may not need.
Workholding for CNC Milling and Turning
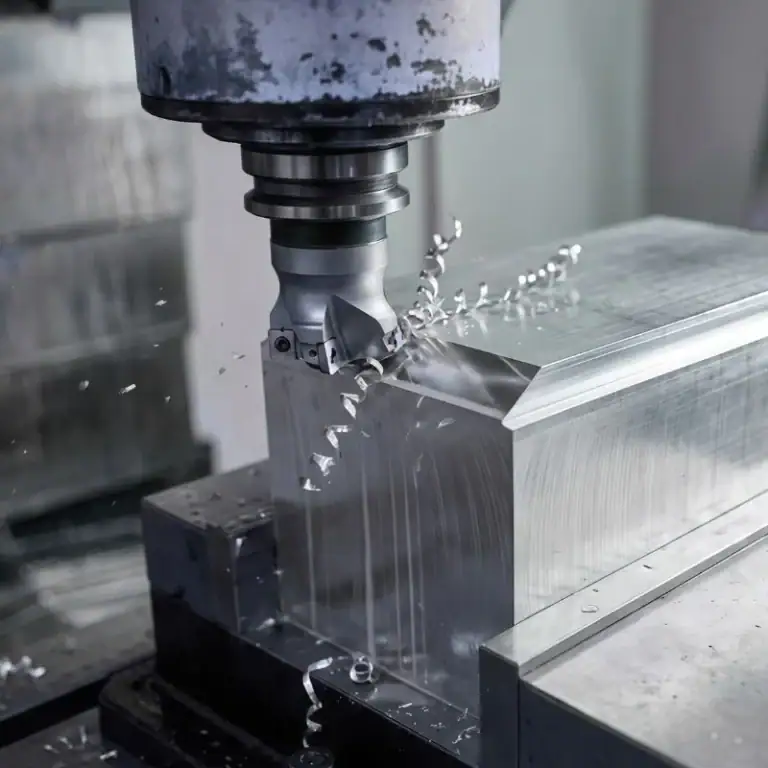
During milling, the cutter applies changing loads as it enters corners, opens pockets, and removes stock. The workholding arrangement must resist those loads while leaving the required surfaces accessible.
A rectangular blank may fit standard vise jaws. After the first operation, a shaped component may need machined soft jaws or a dedicated nest for its second setup. Planning both stages helps avoid reaching a point where the remaining features cannot be accessed securely.
Turning introduces different requirements. Chucks and collets grip rotating stock, while suitable mandrels can locate a component from its bore. Grip length, overhang, part stiffness, and speed all influence the arrangement.
Fixturing for Multi-Sided and 5-Axis Machining
Multi-axis machining can expose more surfaces without manually repositioning the part. However, the fixture must leave room for the spindle, holder, and cutter throughout the required machine motion.
Elevating a workpiece can improve access, but excessive height can reduce stiffness. Likewise, a small gripping area may expose more material while limiting the loads the setup can withstand. Workholding should be considered during process planning, before toolpaths are finalized.
What Are the Common Types of Jigs and Fixtures?
Common tooling includes drill jigs, milling vises, soft jaws, fixture plates, chucks, collets, mandrels, and modular or dedicated fixtures. Choose among them by considering the operation, the available locating surfaces, and how much access the cutter needs.
Plate, Channel, and Box Jigs
Plate jigs provide a relatively simple structure for locating drill guides over a workpiece. Channel jigs surround the part on several sides, giving space for locating and clamping features. Box jigs can support guided operations on multiple faces by allowing the assembly to be repositioned.
These forms describe the jig’s construction. Their usefulness depends on whether the guide arrangement suits the hole locations and whether operators can load and secure the workpiece efficiently.
Milling Vises, Soft Jaws, and Fixture Plates
Vises offer a straightforward starting point for many prismatic parts. Machinable soft jaws extend their usefulness by adding pockets or profiles that match a particular component.
Fixture plates provide a base for locating pins, stops, and clamps. They are helpful when a part does not fit a vise conveniently or when several workpieces must be arranged in one setup.
A locating pocket should allow the part to seat reliably without trapping chips. It should also avoid unnecessary contact with surfaces that vary between blanks.
Chucks, Collets, and Mandrels
Chucks provide adaptable gripping for many turned components. Collets suit compatible stock sizes and shapes, while mandrels can support parts from an internal feature when the outside surface needs machining.
Selection depends on the actual gripping geometry. A thin ring, for example, may distort under concentrated jaw pressure, making contact distribution and controlled gripping force particularly important.
Modular Fixtures and Dedicated Fixtures
Modular fixtures use reusable components that can be rearranged for different jobs. Dedicated fixtures are developed around a particular part or part family.
| Production need | Tooling option to evaluate |
| Simple prototype with accessible faces | Standard vise or suitable chuck |
| Contoured part requiring a second operation | Machined soft jaws or a shaped nest |
| Frequent changes between different components | Modular fixture plate and reusable elements |
| Stable design ordered in repeated batches | Dedicated fixture with repeatable loading |
| Multiple identical parts per machine cycle | Multi-station fixture, subject to access and load requirements |
Which Materials Are Used for Jigs and Fixtures?
Aluminum, steel, and engineering plastics serve different purposes in tooling. Material selection should reflect stiffness, wear, temperature, coolant exposure, and contact with the workpiece. A practical fixture often combines several materials rather than using one throughout.
Aluminum for Lightweight Fixture Bodies
Aluminum is widely used for fixture plates, bodies, and machinable jaws because it is relatively light and easy to machine. These qualities help when fixtures are changed frequently or when substantial material must be removed to create a shaped nest.
Its lower stiffness and wear resistance compared with many steels require attention to section thickness and contact design. Frequently used locating holes or threaded connections may benefit from steel bushings or inserts instead of relying directly on the aluminum body.
Steel and Hardened Components for Wear Resistance
Steel is useful where stiffness, contact durability, or repeated loading is important. Hardened locating pins, drill bushings, and wear pads can protect the features most likely to change with use.
An entire fixture does not necessarily need to be hardened. Concentrating wear-resistant material at functional contact points can simplify maintenance. When a pin wears, replacing that component is often more practical than repairing the fixture body.
Heat treatment and any subsequent finishing must be planned around the dimensions that control location and fit.
Engineering Plastics for Protective Contact Surfaces
Engineering plastics can provide replaceable contact pads or nests where metal contact could mark a finished component. POM, for example, can be considered for machinable protective elements when its properties suit the operating conditions.
Plastic selection requires attention to deformation under sustained load, temperature changes, moisture, and chemical exposure. A contact pad suitable for light assembly may behave differently under prolonged clamping during machining. The material must retain the shape and support needed for its specific role.
How Do You Choose the Right Jig or Fixture?
Start with the part and its manufacturing sequence, then evaluate accuracy requirements, production volume, and total operating cost. The best choice provides dependable location and adequate access with a level of complexity justified by the job.
Match the Tooling to Part Geometry and Operations
Identify which surfaces are available for gripping at each stage. A raw blank may be easy to hold, but machining can remove the very features needed for the next operation.
For a thin-walled housing, the plan may preserve temporary gripping stock until most machining is complete. For a part with a finished bore, an appropriate internal locating method may leave the outside accessible. Each option should be evaluated against the actual drawing and machining sequence.
Also consider unloading. A part that is easy to clamp may become difficult to remove once burrs, chips, or changes in geometry are involved.
Evaluate Tolerances and Surface Requirements
Workholding requirements follow the features that matter on the finished part. A hole pattern referenced to a machined face requires a locating scheme that preserves that relationship across setups.
Accuracy and repeatability should be considered separately. A fixture can return a part to the same incorrect position repeatedly. Conversely, a carefully adjusted first part does not prove that subsequent parts will seat consistently.
Surface requirements influence contact locations as well. Cosmetic faces, sealing surfaces, and thin edges may need protected contacts or a different gripping strategy. These requirements should be identified before tooling is ordered.
Compare Production Volume, Setup Time, and Total Cost
For a one-off part, a flexible standard setup may be economical. For repeated batches, dedicated locating features and faster clamping may justify a higher initial investment.
Estimate the expected number of parts and setups, then compare tooling cost with the time saved in loading, alignment, and changeover. Include cleaning, replacement components, storage, and the likelihood of a design revision.
For illustration, saving two minutes of handling on 300 parts avoids ten hours of handling time. Whether that supports buying a dedicated fixture depends on the actual labor rate, tooling price, and future orders.
| Project condition | Main selection priority |
| Prototype with likely design changes | Adaptability and limited upfront investment |
| Recurring batches of the same component | Repeatable location and efficient changeover |
| Thin walls or easily marked surfaces | Distributed support and controlled contact forces |
| Tight relationships between machined features | Stable datums and consistent seating |
| Complex multi-sided machining | Tool access balanced against workholding stiffness |
How Are Custom Jigs and Fixtures Designed, Manufactured, and Validated?
Develop custom tooling through four connected stages: define the requirements, design the locating and clamping arrangement, manufacture and assemble the components, and verify performance in use. Dimensional inspection checks the tooling itself. trial loading and machining establish whether it works reliably with real parts.
Define Part Requirements and Locating Datums
Start with the current part model, drawing revision, material, stock condition, and planned operations. Record which features control acceptance and which surfaces are available at each setup.
For suitable prismatic parts, the 3-2-1 principle provides a useful locating framework: three contacts establish a primary plane, two establish a secondary reference, and one establishes the third. Clamps keep the workpiece seated against these references. Cylindrical or irregular parts may require different arrangements.
The design should accommodate normal incoming-part variation without introducing conflicting contacts. A fixture that fits one ideal sample but rejects acceptable blanks creates a production problem.
Plan Clamping, Support, and Tool Access
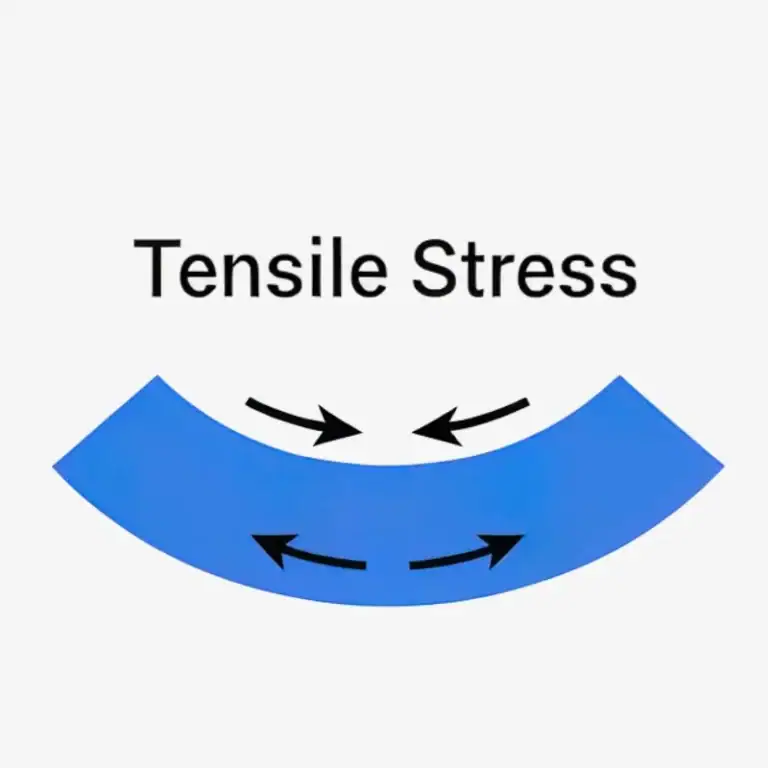
Position clamps so their loads pass into well-supported areas. Pressing on an unsupported wall can bend the part during cutting. once released, it may spring back outside tolerance. More clamping force does not automatically produce a better result.
Review the full tool assembly and its movements, including approaches, retracts, and indexing. Provide space for chips to escape and for locating surfaces to be cleaned. A small trapped chip can prevent correct seating even when every fixture component is within tolerance.
Loading should be clear and repeatable. Asymmetric stops or locating features can help prevent reversed loading, while accessible clamps reduce unnecessary handling. Where appropriate, define a consistent tightening sequence or controlled clamping setting.
Machine and Assemble the Tooling
Manufacturing commonly combines machined custom bodies with standard pins, bushings, screws, and clamps. Specify close tolerances where they control function, such as locating relationships and mating fits, rather than applying the same demanding requirement to every surface.
Plan operations around material stability and finishing. Components requiring heat treatment or coatings may need allowances or subsequent finishing to achieve the intended fit. Deburring is also important at contact surfaces, guide holes, and areas used during loading.
During assembly, check alignment, clamp travel, and component accessibility. Give replaceable items clear identification so future maintenance does not depend on reverse-engineering the original setup.
Inspect Dimensions and Validate Performance
Inspect the features that determine location and support. Depending on the geometry, this may involve gauges, indicators, height measurement, or CMM inspection. Confirm that the assembled fixture mounts and aligns correctly with the intended machine.
Next, unload and reload representative workpieces to assess seating consistency. Include normal variation in the incoming parts rather than relying only on a single selected sample.
Trial machining should then check the finished dimensions, surface condition, and any distortion after unclamping. When a problem appears, separate fixture-related causes from tool wear, machine offsets, thermal changes, or measurement variation before modifying the tooling.
Finally, document the setup: locating surfaces, clamp settings, loading sequence, cleaning points, and inspection checks. A validated fixture needs a repeatable operating method to deliver consistent results across shifts and future batches.
FAQs
What Is Fixturing?
Fixturing is the process of locating, supporting, and securing a workpiece for machining, assembly, or inspection. It keeps the part stable and correctly positioned throughout the operation.
Are Jigs And Fixtures Precision Tools?
Jigs and fixtures can be precision tools, but their required accuracy depends on the application. Tooling for tight-tolerance parts needs more precise locating features than tooling used for basic assembly.
What Are Jigs And Fixtures Used For?
Jigs guide cutting tools during operations such as drilling and reaming. Fixtures hold workpieces during machining, welding, assembly, and inspection. Both help improve consistency and reduce setup time.
Conclusion
Jigs guide tools, while fixtures locate and secure workpieces. In CNC machining, dependable fixturing connects programmed motion to the physical part. Choosing the right arrangement requires a clear understanding of part geometry, tolerances, tool access, materials, and production volume.
At TiRapid, bring your workholding requirements into the discussion early when planning CNC prototypes or production parts. Share your STEP model, 2D drawing, material, quantity, and critical tolerances so the team can review machining feasibility, inspection needs, and the delivery schedule. A well-planned setup creates a stronger foundation for consistent parts from the first sample through repeat orders.