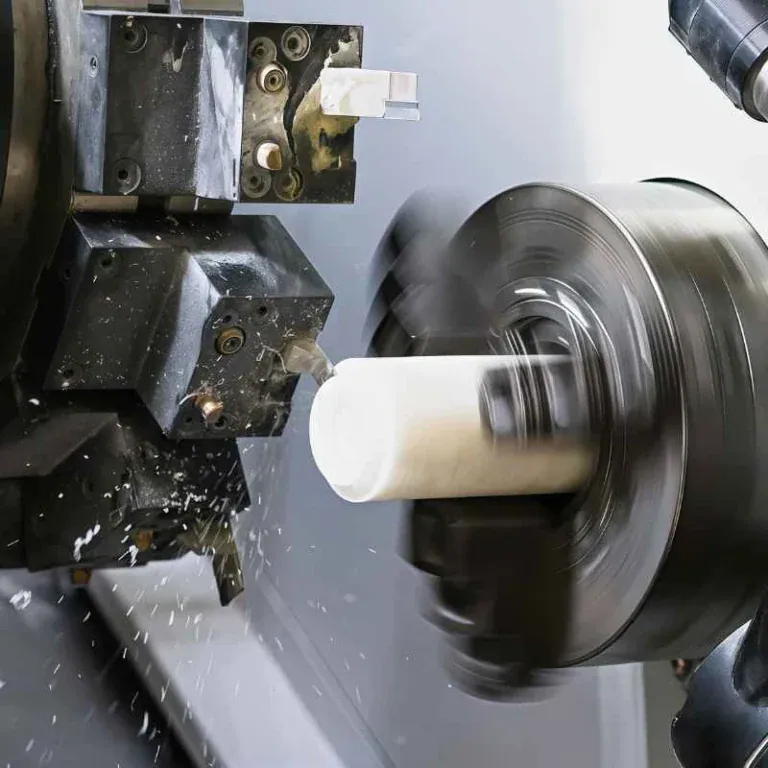
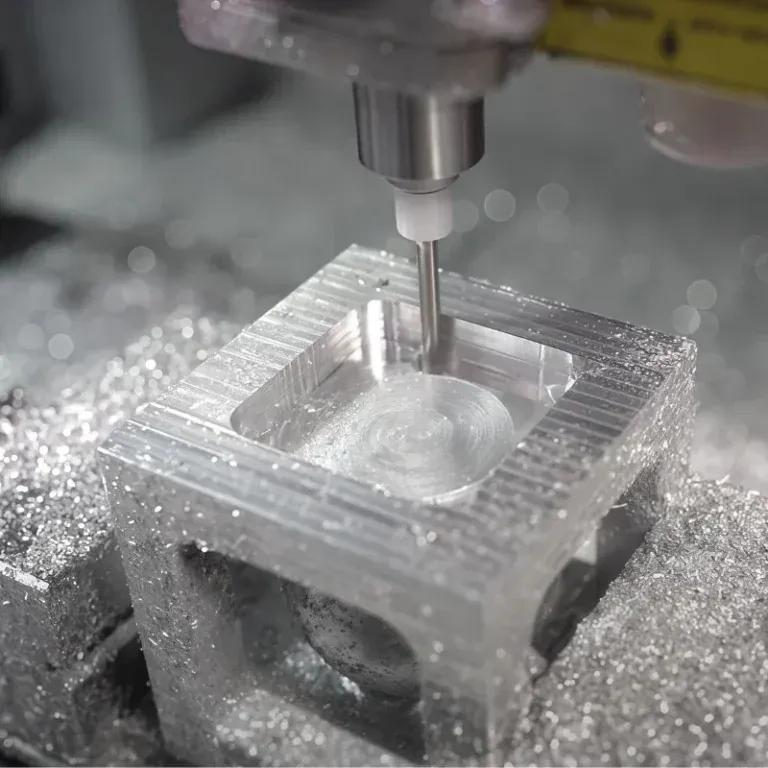
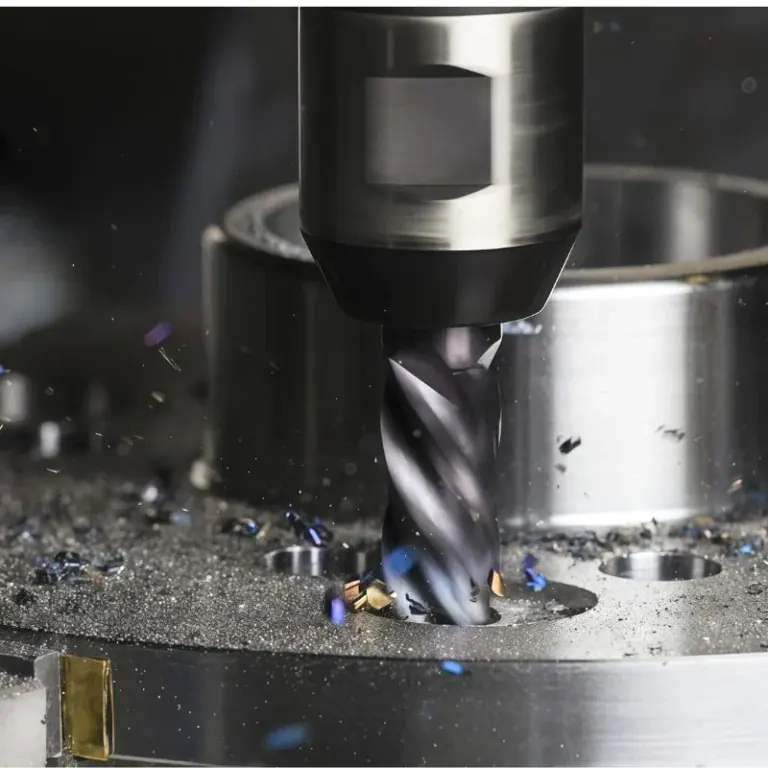
After CNC machining, plastic parts typically show visible tool marks and a fine layer of surface roughness that can compromise both light transmission and the visual quality of transparent components. Mechanical polishing is the most common post-processing method, but for curved surfaces, irregular profiles, or larger production volumes, hand-polishing each part individually is slow and difficult to keep consistent. Flame polishing offers a rapid surface-finishing alternative for transparent plastics such as acrylic: a high-temperature flame momentarily melts the surface layer of the material, and surface tension causes the molten layer to flow and level out before it cools, leaving behind a smooth, clear finish. That said, the result depends heavily on operator technique and parameter control; done poorly, it can leave the part in worse condition than if it had never been polished at all.
How Flame Polishing Works and Suitable Materials
The Basic Principle
Flame polishing uses the high temperature of an oxyhydrogen or propane flame (typically above 2,000 C) swept rapidly across the plastic surface. The surface layer reaches its melting point within an extremely short time. The molten layer is generally between a few microns and a little over ten microns thick—enough to cover the peaks of the tool marks left by CNC machining, yet thin enough to avoid heating the entire part to the point of deformation. Once the flame passes, the molten layer self-levels under surface tension and solidifies into a near-optical-quality transparent surface as it cools. This process is fundamentally different from mechanical polishing: mechanical polishing removes material physically to flatten the surface, whereas flame polishing reconstructs the surface through melting and leveling. As a result, flame polishing generates no grinding dust and handles complex curved surfaces more readily than manual sanding.
Suitable Materials and Their Limitations
Flame polishing is not effective on all plastics. Material choice is often the deciding factor between success and failure.
Acrylic (PMMA)—The material that responds best to flame polishing. Acrylic has a moderate melting temperature, good melt flow, and high post-cooling transparency, making it the primary candidate for flame polishing. Cast acrylic yields better results than extruded acrylic because cast sheet has lower internal stress and is less prone to micro-cracking under heat.
PC (polycarbonate)—Can theoretically be flame-polished, but results are inconsistent in practice. PC is heat-sensitive; the flame pass can easily generate bubbles, and stress cracking or surface hazing may appear after cooling. Flame polishing of PC parts is generally not recommended.
Other engineering plastics such as POM, nylon, and ABS—Not suitable for flame polishing. These materials tend to oxidize and discolor, decompose, or melt and flow uncontrollably at high temperatures. Flame polishing cannot produce an acceptable transparent surface on them. Mechanical or chemical polishing are more appropriate alternatives for these materials.

Preparation Before Flame Polishing
Required Surface Condition
If the tool marks left by CNC machining are too deep (surface roughness Ra exceeding 3.2 um), the molten layer will not be thick enough to fill the troughs of the tool marks, and the marks will remain visible after polishing—merely buried under a transparent skin. The part surface should therefore be brought to as fine a roughness as possible through proper CNC parameters before flame polishing; an Ra of 1.6 um or better after finishing is a reasonable target. The machined part must be thoroughly cleaned to remove chips, oil, and fingerprints. Any surface contaminant can carbonize or become embedded in the molten layer under the flame’s high temperature, leaving permanent black specks. Wiping down with isopropyl alcohol or a dedicated plastic cleaner, followed by air-drying, is recommended before flame polishing.
Equipment and Gas Selection
Two types of heat source are commonly used for flame polishing: oxyhydrogen generators and butane/propane hand torches.
Oxyhydrogen generators—Produce a hydrogen-oxygen gas mixture through water electrolysis. The combustion by-product is nothing but water vapor, so no soot or residue is deposited on the part surface. The flame is hot and concentrated, making it well-suited to high-precision polishing. The initial equipment cost is higher, but long-term operating costs are low, and this is the mainstream choice for professional acrylic polishing.
Butane or propane hand torches—Low cost and portable, suitable for small batches or occasional use. However, hydrocarbon combustion can produce traces of soot; if the flame is not properly adjusted (a yellow flame tip indicates insufficient oxygen), carbon particles will settle on the molten surface and cause contamination. The flame must be adjusted to a pure blue neutral flame during use.
Operating Techniques for Flame Polishing
Flame Distance and Traverse Speed
The distance from the flame nozzle to the part surface and the traverse speed are the two core variables determining polishing quality, and the two must be adjusted in tandem.
Nozzle distance—Typically set between 30 and 80 mm. Too close, and the surface temperature becomes excessive, leading to bubbling or even scorching. Too far, and the surface never reaches melting temperature, leaving the polish ineffective. When starting out, begin testing from a greater distance (60 to 80 mm), observe the surface response, and gradually move closer.
Traverse speed—The flame should travel across the part surface at roughly 30 to 80 mm per second. Moving too slowly gives the material too much local heating time, leading to bubbling or deformation. Moving too quickly prevents the surface from melting sufficiently to develop a gloss finish. The critical rule is to maintain a constant speed and never pause at any point—even a half-second dwell can leave a burn mark on an acrylic surface.
Flame Scanning Pattern
The scanning path affects polishing uniformity. For flat parts, a parallel reciprocating scan is typical, with each pass overlapping the previous one by roughly 30 to 50 percent to ensure no untreated stripes remain. For curved surfaces, the flame nozzle should be kept as perpendicular to the surface as possible, with an angular deviation of no more than 30 degrees; otherwise uneven heating will lead to localized over-polishing or under-polishing. Parts with complex contours should be processed zone by zone: large flat areas first, then corners and small curved surfaces. Corners and edges have less surface area for heat dissipation and poorer cooling conditions; the flame should be moved faster or kept at a greater distance in these areas to prevent overheating.
The Choice Between Multiple Light Tosses and a Single Heavy Toss
A common beginner mistake is attempting to achieve the finish in a single pass. Flame polishing is better suited to multiple light passes—each pass only lightly melts the surface, and the next pass is applied after cooling. Two to three light passes usually produce a better cumulative result than a single deep melt. The part should be allowed to cool to near room temperature between passes (typically a 1- to 2-minute interval) to prevent progressive heat buildup that can cause the entire part to warm and deform.
Common Defects in Flame Polishing and How to Address Them
Surface bubbles
Main causes include: flame temperature too high or traverse speed too slow; moisture or residual solvent inside the material vaporizing under high heat; pre-existing micro-voids within the material.
Remedy: reduce flame intensity or increase traverse speed, and ensure the part is thoroughly dry before polishing.
Micro-cracks after polishing
Cracks may not appear until hours or even days after cooling and are a form of stress cracking. Possible causes: excessive flame temperature causing thermal shock; significant variation in part wall thickness leading to uneven cooling rates; use of extruded rather than cast acrylic.
Mitigation: lower the flame intensity, choose cast sheet with lower internal stress, allow the part to cool slowly at room temperature after polishing, and avoid placing it on a cold metal work surface that would accelerate localized cooling.
Surface haze or whitening
If the surface becomes hazy rather than glossy after polishing, the cause may be incomplete combustion of the fuel, with carbon or impurities from the fuel depositing on the surface; or the surface temperature was insufficient, so the material was merely softened rather than truly melted and leveled. Check that the flame color is pure blue, and try again with a slightly shorter distance or slower speed.
Edge melting or collapse
Thin-wall or sharp-corner edges have less surface area for heat dissipation and heat up far faster than flat areas, making them prone to edge collapse or unintended rounding. For parts with sensitive edges, a simple aluminum-foil mask can be fashioned to shield the edge area, or the part can be clamped in a metal heat-sinking fixture that uses the metal’s thermal conductivity to keep edge temperatures down.
Frequently Asked Questions
Can flame polishing fully replace manual sanding and buffing?
It cannot fully replace it; each method has its own place. Flame polishing offers clear advantages in processing speed (a part can be finished in seconds to tens of seconds) and in handling curved surfaces, making it well-suited to production runs and applications demanding high surface gloss. However, flame polishing demands skilled technique; a moment’s inattention can scrap a part. Manual polishing is slower but offers greater control, making it preferable for ultra-precision parts or particularly complex geometries. In practice, the two methods are often used in combination: mechanical sanding removes the deeper tool marks first, and flame polishing then rapidly elevates the gloss level.
Does flame polishing change part dimensions?
There is a very slight change, but for most applications it is negligible. Flame polishing melts only a few microns of the surface and does not produce a measurable change in the part’s overall dimensions. The one scenario that warrants caution is thin-wall parts—if the wall thickness is under 1 mm, the heat from the flame may penetrate through the entire wall thickness and cause localized softening and deformation. Flame polishing is not recommended in such cases.
Conclusion
Flame polishing is one of the most efficient surface-brightening techniques available for post-CNC finishing of plastic parts, and it is particularly well-suited to batch processing of transparent acrylic components. Its effectiveness, however, rests on correct material selection, proper pre-treatment, precise technique, and sound cooling control. For parts that will undergo flame polishing, it is advisable to practice repeatedly on offcuts from the same material batch to dial in the flame distance, traverse speed, and scanning rhythm before moving on to actual workpieces. When the cost of trial-and-error on scrap material is a small fraction of the loss from scrapping finished parts, putting in the practice time on waste pieces is the best investment of all.