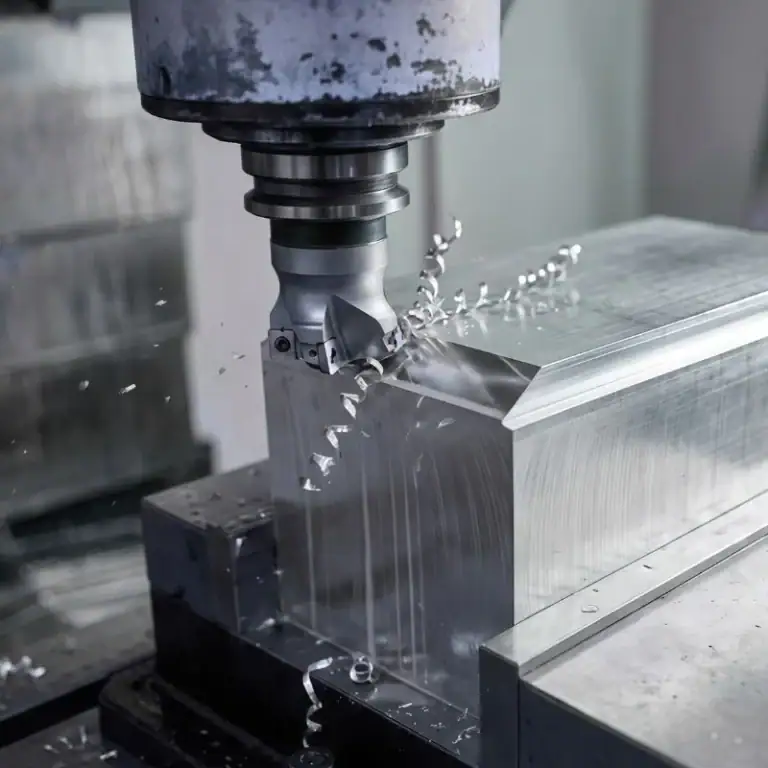
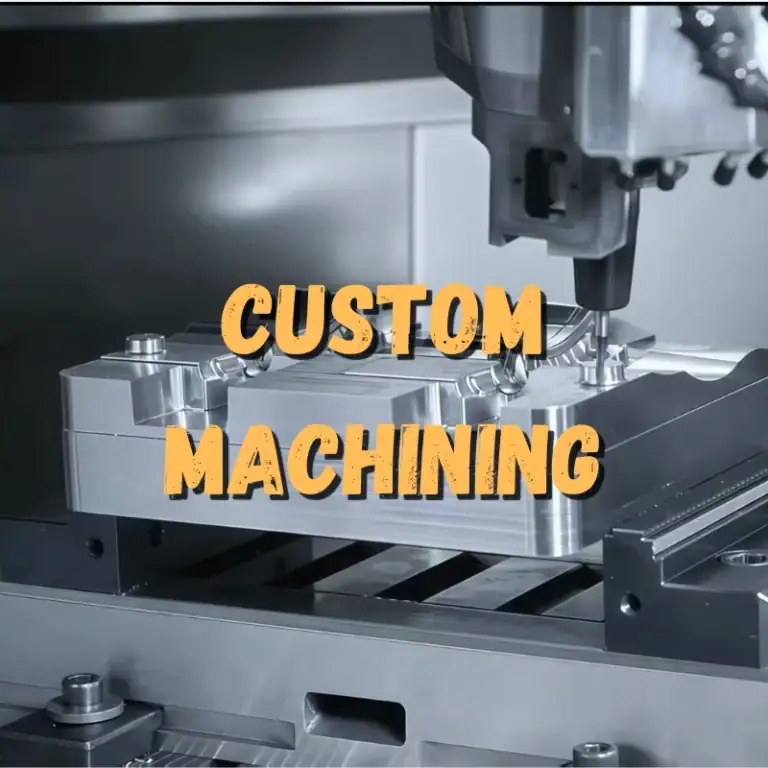
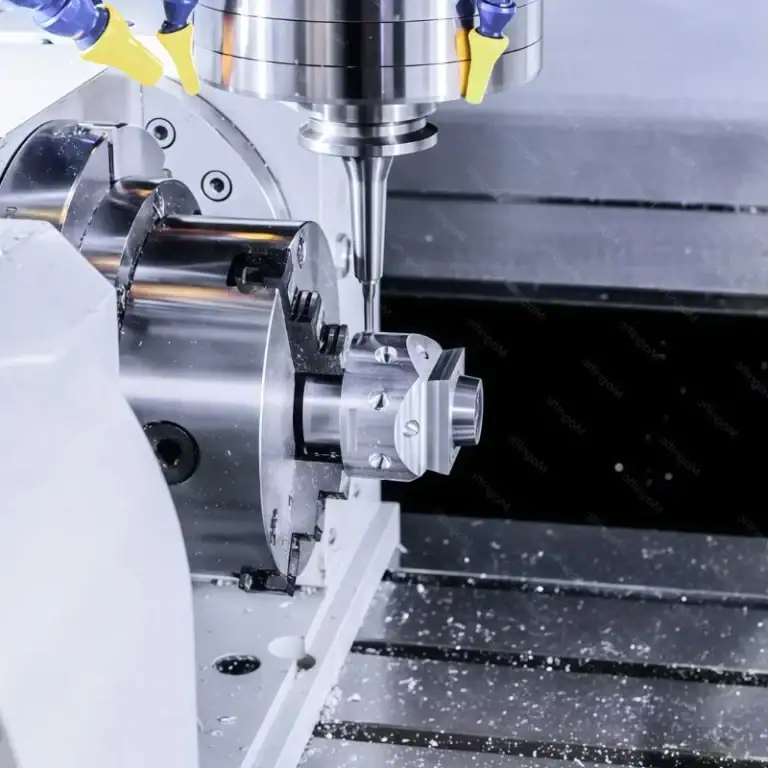
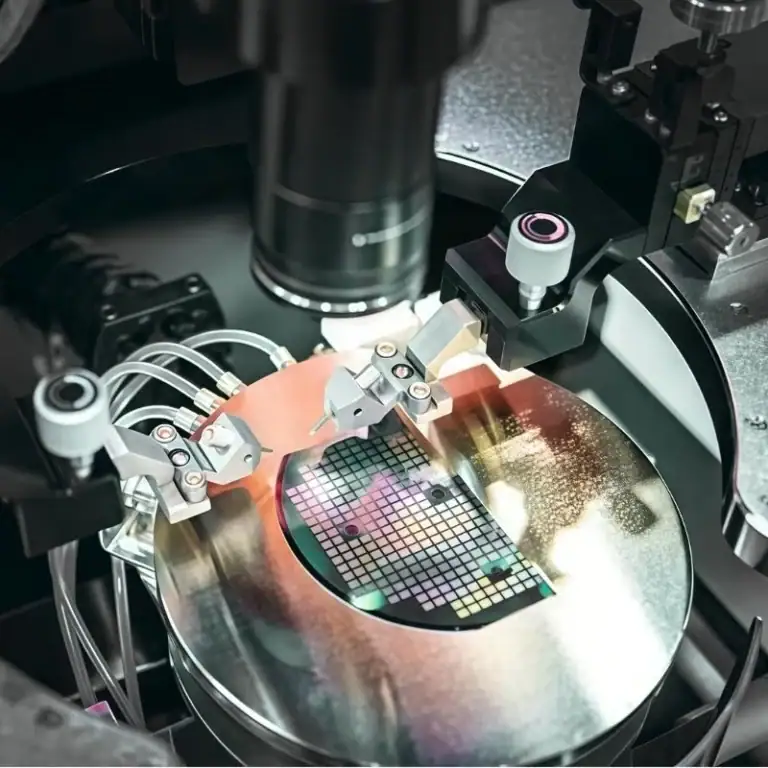
Acrylic (PMMA) features high transparency, light weight, excellent weather resistance, and outstanding machinability, making it widely used in display products, medical devices, lighting products, advertising signs, optical components, and automation equipment. CNC machining can perform complex operations such as drilling, milling, engraving, slotting, and edge trimming. However, cracking is also one of the most common issues during production. Some cracks appear during machining, while others gradually develop during polishing, assembly, or even after a period of use. These cracks not only affect the product’s appearance but may also reduce part strength and lead to costly rework of entire production batches. To minimize acrylic cracking, it is necessary to systematically inspect material condition, machining processes, tool selection, and post-processing methods. Only by identifying the root cause and making appropriate adjustments can machining quality be consistently improved.
Check Whether the Material Itself Has a Risk of Cracking
Acrylic cracking is not always caused by machining. The condition of the material itself also has a significant impact on the final machining result. If there are issues with sheet quality, storage conditions, or internal stress, cracks may still occur after machining even if the machining parameters are properly set. Therefore, before machining begins, the material should first be confirmed to be suitable for production.
Does the Acrylic Sheet Meet Machining Requirements?
Acrylic sheets produced by different brands and manufacturing processes often differ significantly in feel and machining performance. Some sheets appear smooth on the surface but may have unstable internal structures. Others may be inexpensive but are prone to edge chipping or cracking during machining. Especially for high-precision parts, material quality should not be judged solely by appearance—it is equally important to determine whether the material is suitable for CNC machining.
The following items should be carefully inspected:
- Whether virgin raw materials are used;
- Whether impurities exist inside the sheet;
- Whether bubbles, delamination, or fine cracks are present;
- Whether the sheet thickness is uniform.
Extruded acrylic sheets and cast acrylic sheets also have different properties. Cast acrylic has lower internal stress and better dimensional stability, making it more suitable for high-precision CNC machining. Extruded acrylic offers higher machining efficiency but contains relatively higher residual stress, making it more susceptible to cracking during drilling or deep milling. If microscopic cracks already exist within the material, cutting forces during machining can further enlarge these defects, eventually resulting in visible cracks.
Has the Internal Stress of the Material Been Released?
After acrylic sheets are manufactured, they are not always ready for immediate machining. During manufacturing, transportation, and storage, invisible internal stresses often accumulate inside the material. These stresses may not be obvious under normal conditions, but they can easily become activated during drilling, slotting, or deep cutting. This explains why some parts crack around holes or edges even when machining parameters appear correct. Such problems are often related to internal stress. Although stress-relief treatment adds an extra production step, it greatly improves machining stability.
If machining is performed directly:
- Deep grooves are more likely to crack;
- Radial cracks may appear around drilled holes;
- Fine cracks may develop along edges.
For large acrylic sheets, many machining companies perform annealing to release internal stress before precision machining. Optical-grade acrylic, thick acrylic sheets, and highly transparent components especially benefit from annealing prior to machining to improve processing stability.
Is the Material Stored Properly?
Although acrylic generally has excellent weather resistance, it does not mean it can be stored under any conditions. Many material-related problems actually originate during storage rather than during machining. For example, prolonged exposure to high temperatures or direct sunlight may gradually degrade material properties. Moisture absorption, excessive pressure, or improper stacking can also affect later machining performance. This is especially important when cutting small parts from large sheets. Once the material becomes warped, no amount of toolpath adjustment can completely compensate for it. Therefore, storage conditions should always be verified before machining.
For example:
- High temperatures may accelerate material aging;
- Long-term direct sunlight may reduce material performance;
- Moisture absorption may reduce dimensional stability;
- Improper stacking may deform the sheet due to uneven stress.
Before machining, confirm that the material has not experienced noticeable deformation or aging to prevent cracking caused by poor material condition.
Check Whether There Are Problems with the Machining Process
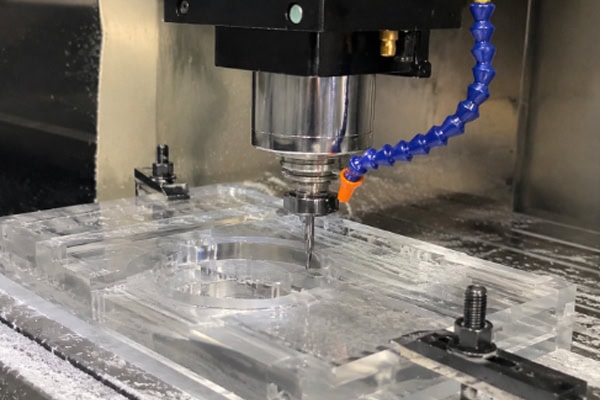
After confirming that the material is in good condition, the machining process should be analyzed further. Many acrylic cracks result from excessive cutting heat, excessive cutting force, or improper toolpath design. Therefore, optimizing the machining process can often effectively reduce cracking problems.
Are the Cutting Parameters Properly Set?
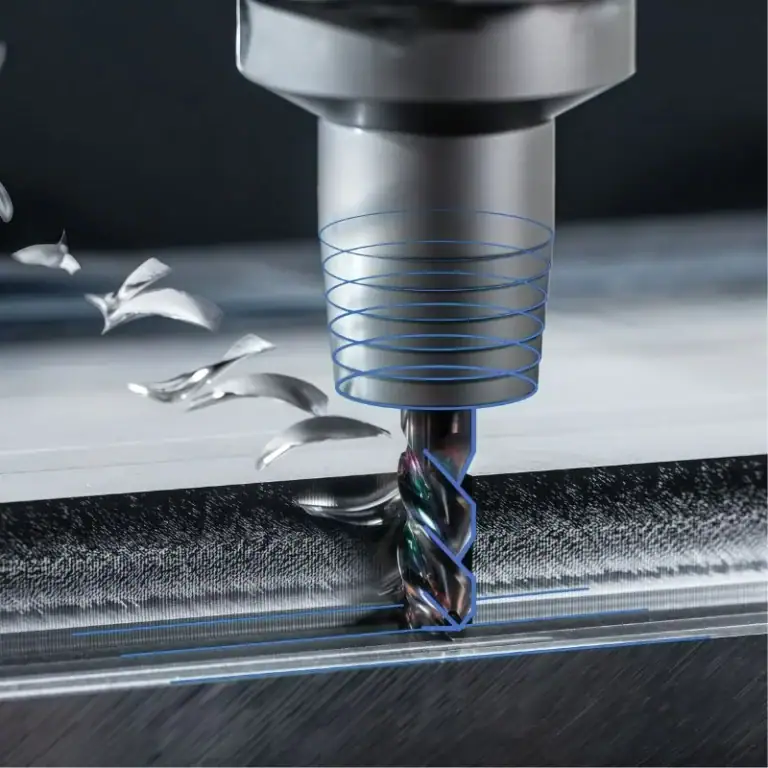
Unlike metals, acrylic is not a material that performs better simply with higher speed or deeper cuts. It is sensitive to heat. If the spindle speed is too high while the feed rate is too low, the tool repeatedly rubs against the material surface, causing heat to accumulate continuously. This may soften the material locally, and cracks may appear after cooling. On the other hand, if the cutting depth is too large in a single pass, the impact force on the material increases, creating another source of cracking. Therefore, parameter settings should be optimized based on sheet thickness, tool specifications, and part geometry rather than relying solely on experience.
If:
- The spindle speed is too high;
- The feed rate is too low;
- The cutting depth per pass is too large;
the tool will continuously rub against the material. As local temperatures continue to rise, the material not only softens but also develops higher internal stress, which can easily lead to cracks during cooling.
During machining, the following parameters should be adjusted according to sheet thickness and tool specifications:
- Spindle speed;
- Feed per tooth;
- Cutting depth;
- Machining allowance.
Maintaining stable cutting conditions helps reduce stress concentration and improve machining quality.
Is the Toolpath Properly Planned?
Complex parts usually cannot be completed in a single cutting operation. Instead, rough machining, semi-finishing, and finishing should be combined to remove material layer by layer, gradually refine the profile, control dimensions, and release machining stress. This approach helps ensure final dimensional accuracy, surface quality, and overall part stability.
If the toolpath is poorly designed:
- The same area is cut repeatedly;
- The tool remains too long at corner locations;
- Deep grooves are machined in a single pass;
local heating time will increase.
For deep cavities, irregular contours, and transparent display components, layered machining is generally recommended. Material is gradually removed layer by layer before finishing, which not only reduces heat accumulation but also lowers the risk of cracking.
Is the Machining Sequence Correct?
The machining sequence of acrylic parts also directly affects changes in internal stress and the stability of the finished component. Improper sequencing—for example, cutting the outer profile too early, machining thin-wall sections prematurely, or performing finishing before rough machining is complete—can cause uneven stress distribution, leading to deformation or fine cracks during subsequent machining. Therefore, rough machining, semi-finishing, and finishing should be arranged according to the structural characteristics of the part so that sufficient overall rigidity is maintained throughout machining, thereby minimizing stress concentration and reducing cracking risk.
For example:
- Cutting the outer profile too early;
- Finishing thin-wall areas prematurely;
- Scheduling finishing operations too early.
These operations reduce the overall rigidity of the part and may result in deformation or cracking during subsequent machining. Properly arranging the sequence of rough machining, semi-finishing, and finishing can effectively improve part stability.
Check Whether the Tools and Equipment Affect Machining Quality
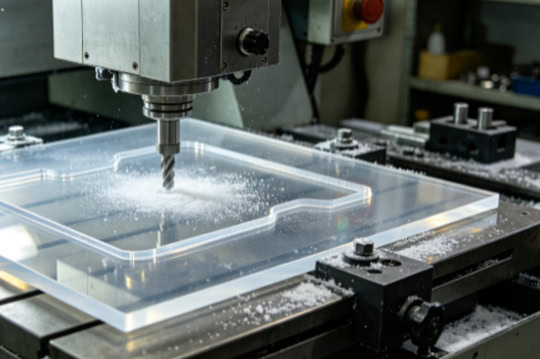
Even if the material itself has excellent properties, improper tool selection or unstable machine performance can still prevent satisfactory machining results. Acrylic is particularly sensitive because it requires highly stable cutting conditions. Once the cutting tool becomes dull or spindle vibration occurs, burrs, whitening, or fine cracks can easily appear along the edges. Therefore, when troubleshooting cracking issues, tools and equipment should always be inspected together rather than simply replacing the material while overlooking machine condition.
Are the Tools Suitable for Acrylic Machining?
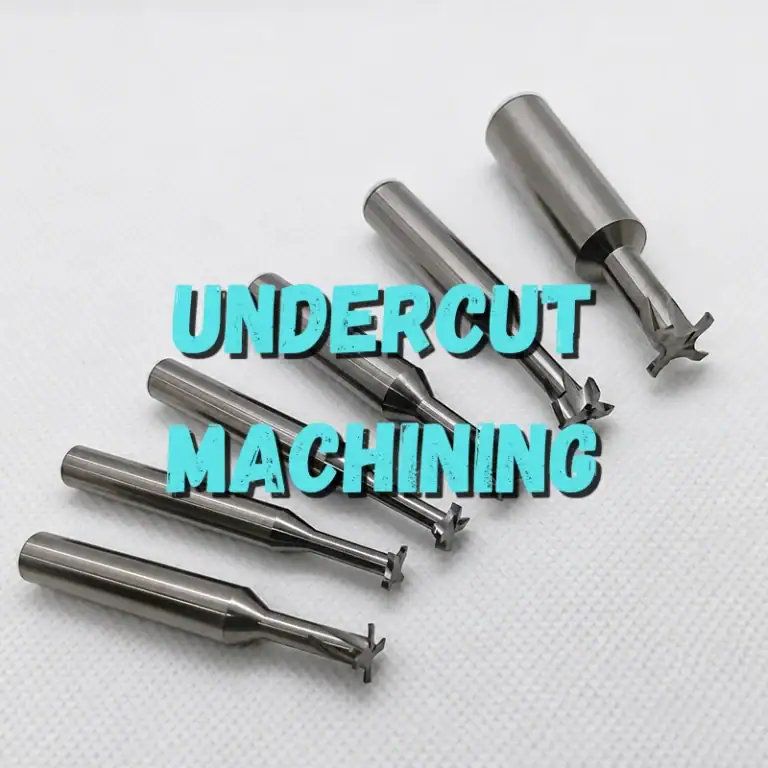
Machining acrylic differs significantly from machining ordinary metals. Dedicated plastic-cutting tools are generally sharper and feature smoother chip flutes. Instead of forcing material aside, they cleanly shear it away. This reduces heat generation while producing cleaner edges. Although standard metal-cutting tools can also cut acrylic, their cutting geometry and chip evacuation are not optimized for plastics, making edge cracking much more likely, especially on transparent parts.
Dedicated plastic-cutting tools are typically used for acrylic machining.
Common features include:
- Sharp cutting edges;
- Large rake angles;
- Polished chip flutes;
- Single-flute or two-flute designs.
Sharp tools cut the material cleanly instead of squeezing it. If ordinary metal-cutting tools are used, their cutting geometry may cause edge chipping and microscopic cracks. When machining transparent acrylic, maintaining sharp cutting edges is especially important to minimize machining marks.
Is the Tool Excessively Worn?
When a tool is new, cutting performance is generally excellent. As production continues, however, the cutting edge gradually becomes dull. Although this wear may not always be visible to the naked eye, machining quality usually begins to decline first. Symptoms include rough edge finishes, whitening, burrs around drilled holes, and eventually cracking. As tool wear increases, cutting resistance and frictional heat also increase. Since acrylic is highly sensitive to heat, these problems become much more pronounced. Therefore, during batch production, tools should be managed proactively instead of waiting until they are completely worn out before replacement.
After the tool becomes worn:
- Cutting resistance increases;
- Frictional heat increases;
- Chip evacuation becomes less efficient;
- Cutting forces become larger.
All of these conditions place additional stress on the acrylic. Especially during continuous mass production, tools should be replaced according to machining volume rather than waiting until quality problems become obvious.
Is the Machine Operating Stably?
Insufficient machine accuracy can also cause cracking. Excessive spindle runout, worn guideways, excessive transmission backlash, or machines that have not been calibrated for long periods may cause slight tool vibration and uneven cutting forces. As a result, acrylic edges and holes become more susceptible to chipping, fine cracks, or crack propagation.
The following items should be inspected:
- Spindle runout;
- Guideway clearance;
- Fixture stability;
- Workpiece clamping condition.
If machine vibration is excessive, the tool repeatedly impacts the material edges, allowing cracks to initiate around holes or edges and gradually propagate. Regular machine maintenance and accurate fixture positioning can significantly improve machining stability.
Check Whether Post-Processing and Assembly Cause Cracking
Some acrylic parts appear perfectly normal after machining with no obvious surface defects, yet cracks gradually appear during polishing, bonding, or assembly. This situation is very common and often overlooked. In reality, post-processing and assembly can also introduce stress into acrylic. If these operations are not performed properly, even perfectly machined parts may eventually fail. Therefore, post-processing should not be regarded as a simple finishing step but as an important part of the overall machining process.
Is the Polishing Temperature Too High?
The purpose of polishing acrylic is to produce smoother edges and improve appearance. However, if temperature is not properly controlled, polishing itself can become a source of cracking. Both flame polishing and mechanical polishing generate heat. Flame polishing, in particular, can quickly raise the surface temperature if applied for too long, creating new internal stresses.
Both flame polishing and mechanical polishing generate heat.
If:
- The polishing speed is too slow;
- The same area is heated for too long;
- Temperature control is improper;
new stress can easily form on the material surface. After machining, an appropriate polishing process should be selected according to product requirements while carefully controlling the heating time.
Is the Bonding Method Correct?
Acrylic parts are usually bonded using dedicated acrylic adhesives. These adhesives are specifically designed to match the transparency and surface characteristics of acrylic, producing smoother and stronger joints while minimizing whitening, bubbles, cracking, or visible adhesive marks. During actual production, adhesive type, adhesive quantity, curing time, and bonding pressure should all be selected according to sheet thickness, structural design, and service conditions to ensure stable and reliable bonding performance.
If:
- The wrong adhesive is selected;
- Too much adhesive is applied;
- The curing speed is too fast;
stress cracking may occur.
Transparent display products especially require careful adhesive application to prevent adhesive from penetrating microscopic cracks and causing further crack propagation.
Is the Assembly Load Evenly Distributed?
Many acrylic products do not crack immediately after machining but instead develop cracks during installation. This is particularly common around drilled holes, corners, joints, and other stress-concentrated areas. If screws are overtightened, hole clearances are insufficient, assembly tolerances are too tight, or the product is subjected to continuous external loading, localized stress concentration can develop, eventually causing cracks to initiate and propagate.
For example:
- Screws are tightened excessively;
- Hole clearance is insufficient;
- Assembly clearance is too small;
- The product is subjected to long-term external compression.
During assembly, sufficient allowance should be provided for thermal expansion while avoiding excessive localized loading to effectively extend the product’s service life.
Common Questions
Can Acrylic Parts Still Be Used If Small Cracks Appear After Machining?
If only very slight surface machining marks are present and structural strength is not affected, polishing or secondary finishing may be performed depending on the application. However, if cracks have penetrated into the material or are located around mounting holes, load-bearing areas, or edges, they may continue to propagate during long-term use under changing loads, reducing product safety and service life. In such cases, it is generally recommended to remanufacture the part while re-evaluating the material, cutting tools, machining parameters, and assembly method to eliminate the root causes of cracking.
Conclusion
When acrylic cracks occur during CNC machining, it is not advisable to adjust only a single parameter. Instead, a systematic inspection should be performed following the sequence of material, machining process, equipment, and post-processing to identify the true root cause before optimization. For transparent display products, optical components, medical device parts, and high-precision industrial products, stable machining quality affects not only appearance but also assembly performance and service life. Establishing standardized machining procedures while implementing thorough material inspection, parameter optimization, and process monitoring can effectively reduce the risk of acrylic cracking, improve product qualification rates, and make plastic CNC machining more stable and efficient.