In product development, prototypes play a vital role in verifying appearance and functionality, and prototype CNC machining is one of the most dependable methods due to its precision, strength, and material versatility. This guide explains the essentials of prototype machining: when CNC is the right choice, how the machining workflow operates, key cost factors, and how to select a reliable CNC prototype manufacturer.
What Is a Prototype
A prototype is the first physical version of your idea—used to verify appearance, structure, function, and manufacturability before mass production. In my experience supporting global clients, a well-made prototype reduces 70–85% of downstream risks and prevents costly redesigns.
What is the purpose of a prototype
Verify appearance and dimensions: Confirm whether the design matches expectations.
Test functionality: For example, evaluate movement, assembly fit, and load-bearing points.
Reduce mass-production risks: A single prototype can identify up to 80% of potential issues in advance.
Use for presentations or fundraising: Many clients use high-precision CNC prototypes to present to investors.
Relationship Between the Prototype and the Final Product
A prototype is not the same as a mass-produced part, but it should be sufficiently close.
For products that require functional testing, a CNC machined prototype can achieve over 95% structural similarity to the final part.
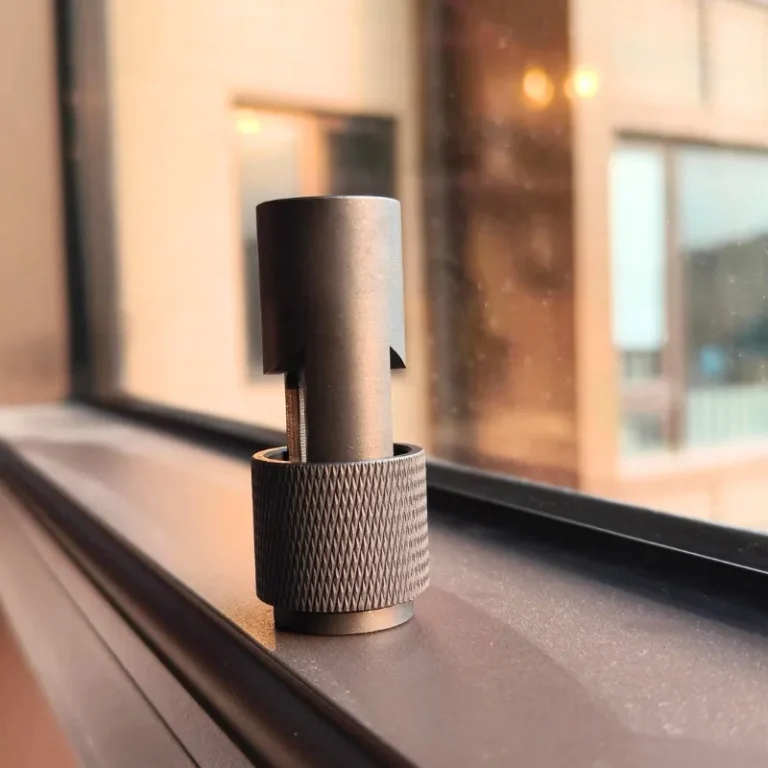
What Is CNC Prototype Machining
CNC prototype machining is a subtractive process that converts CAD designs into physical parts using computer-controlled tools. Compared with traditional machining, CNC is faster, more accurate, and far more suitable for rapid iteration.
Key differences from traditional machining
Speed – No manual setups, supports quick iterations
Precision – Tight tolerances (±0.01 mm)
Material compatibility – Metals, plastics, composites
Repeatability – Each piece is identical
Scalability – Easy transition to mass production
Core characteristics
High accuracy for tight-tolerance engineering prototypes
Excellent consistency for functional assemblies
Smooth surface quality suitable for cosmetic prototypes
Supports complex geometries with 4-axis/5-axis machining
When Should You Choose CNC Machining for Prototype Development
In prototyping, not all projects are suitable for 3D printing or rapid prototyping. When you need high precision, high strength, testable functionality, simulating mass production characteristics, or need to quickly enter small-batch production, CNC machining is often the safest choice.
When High Precision and Repeatability Are Critical
CNC machining consistently achieves ±0.01–0.05 mm tolerances—far tighter than most additive methods.
For assembly-based products (housings, mechanisms, medical devices), precision determines whether parts fit properly.
A robotics client once switched from 3D printing to CNC machining due to misalignment issues, assembly success rate jumped by 70%.
When You Need Diverse Materials
CNC supports almost all engineering materials: ABS, PC, POM, aluminum, stainless steel, titanium, copper, carbon fiber, etc.
Essential for functional tests requiring strength, heat resistance, impact performance, or structural stability.
For example, medical device housings often require PEEK or aluminum—materials that typical 3D printers cannot handle.
When Time Efficiency Matters: Faster From CAD to Part
No molds, no curing—CNC machines cut directly from the 3D model, prototypes can be finished within 24–72 hours.
Easy iteration: design changes require only reprogramming, not remolding.
A European client needed an assembly-ready prototype in three days for an investor meeting—CNC machining delivered on time and secured his presentation.
When You Plan to Transition Into Small-Batch Production
CNC prototypes can match production-grade materials, structure, and tolerances, achieving over 90% structural similarity.
For NPI phases (EVT → DVT → PVT), CNC machining supports a natural scale-up from 1 pc → 50 pcs → 200 pcs.
This eliminates the need to switch processes, reducing risk and ensuring engineering consistency.
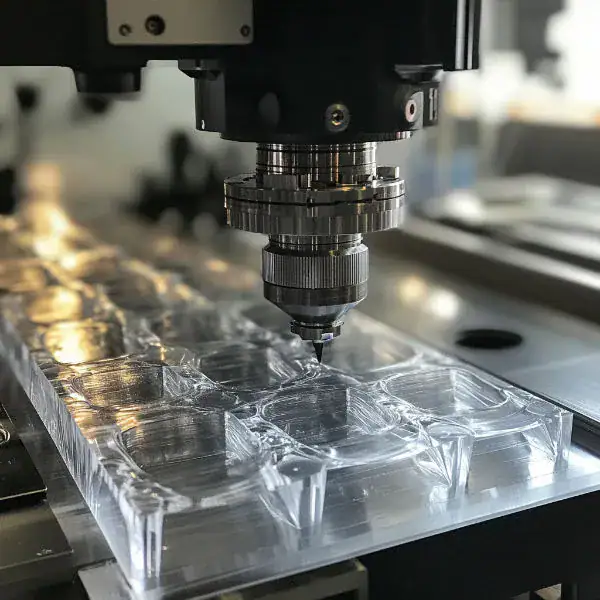
What Processes Does CNC Prototype Machining Involve
Successful CNC prototyping relies on a clear, structured workflow. Every step—from CAD preparation and DFM analysis to material selection, toolpath planning, machining, finishing, and inspection—directly affects accuracy, lead time, and cost. Here, I will break down the complete “file-to-part” path based on real factory experience to help you minimize risks and accelerate development.
Preparing Design Files
Based on years of working with global engineering teams, I’ve found that 80% of machining issues originate from the design stage. Essential documents include:
3D CAD model (STEP/IGS) for toolpath generation
2D drawings with tolerances, chamfers, CTQs
Defined tolerances—default ±0.1 mm unless otherwise stated
Wall thickness guidelines—metal ≥1.0 mm, plastic ≥1.2 mm
Example: A motor housing with a 0.5 mm wall thickness failed repeatedly until redesigned to 1.2 mm.
DFM (Design for Manufacturability) Analysis
DFM determines whether your prototype can be successfully machined. Key checks:
Tool accessibility (deep cavities, undercuts, blind holes)
Material-related risks: such as PC melting or 7075 edge chipping
Deformation risk: for large flats or long parts
Our DFM process predicts over 70% of potential machining issues before production begins.
Material Selection
Different prototype goals require different materials:
Metals (Aluminum, steel, stainless steel, titanium) for functional testing
Plastics (ABS, PC, POM, PA) for appearance or lightweight prototypes
Composites for high-strength or chemical-resistant parts
For clear housings, PC offers better impact resistance than PMMA but requires more careful machining.
CNC Toolpath, Fixturing & Process Planning
A process engineer will define:
Toolpath strategy (roughing → semi-finishing → finishing)
Fixturing method, critical for preventing deformation
Machine selection—3-axis for simple parts, 5-axis for complex geometry
High-accuracy parts may require four or more re-positioning cycles to achieve ±0.01 mm tolerances.
Machining → Finishing → Inspection
A complete CNC prototype workflow includes:
Machining (milling, turning, drilling)
Finishing (anodizing, sandblasting, polishing, plating)
Inspection using calipers, micrometers, or CMM machines
Many clients use CNC prototypes for investor demos, so aesthetic finishing is often important.
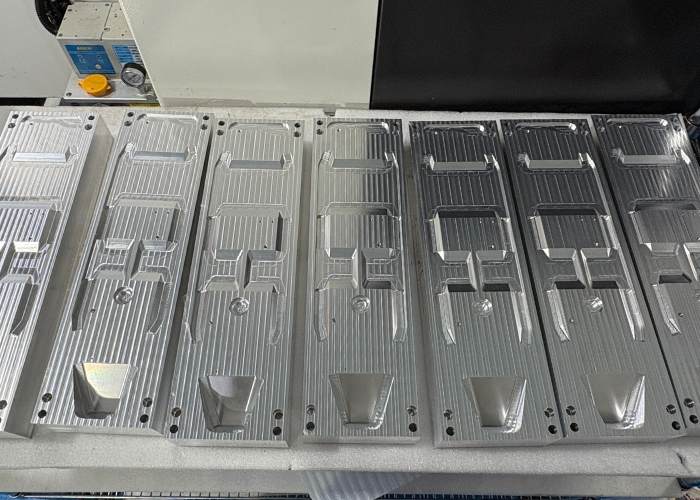
Pre-Production Run (Small Batch)
After the prototype passes validation, you can move directly into small-batch production:
Typical quantities: 20–200 pcs
Purpose: validate assembly and production stability
Advantage: no need for molds, seamless transition to volume manufacturing
Many clients run small batches for market testing to reduce upfront investment.
What CNC Processes Can Be Used for Prototype Manufacturing
Different prototype requirements call for different machining strategies. Whether you need high-precision metal parts, smooth plastic housings, or complex multi-surface components, CNC machining offers multiple process modes. Choosing the right one ensures better accuracy, shorter lead time, and lower cost.
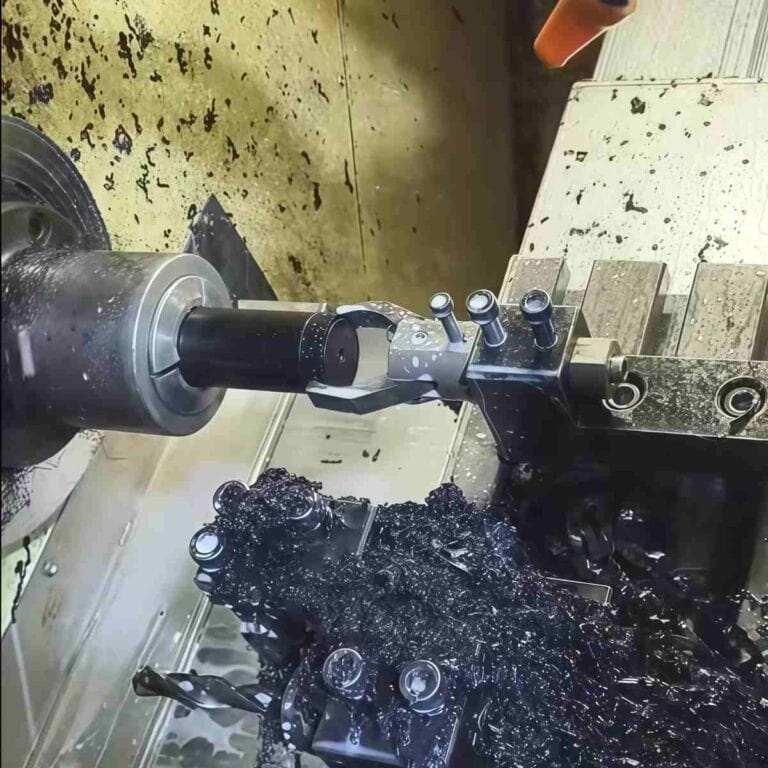
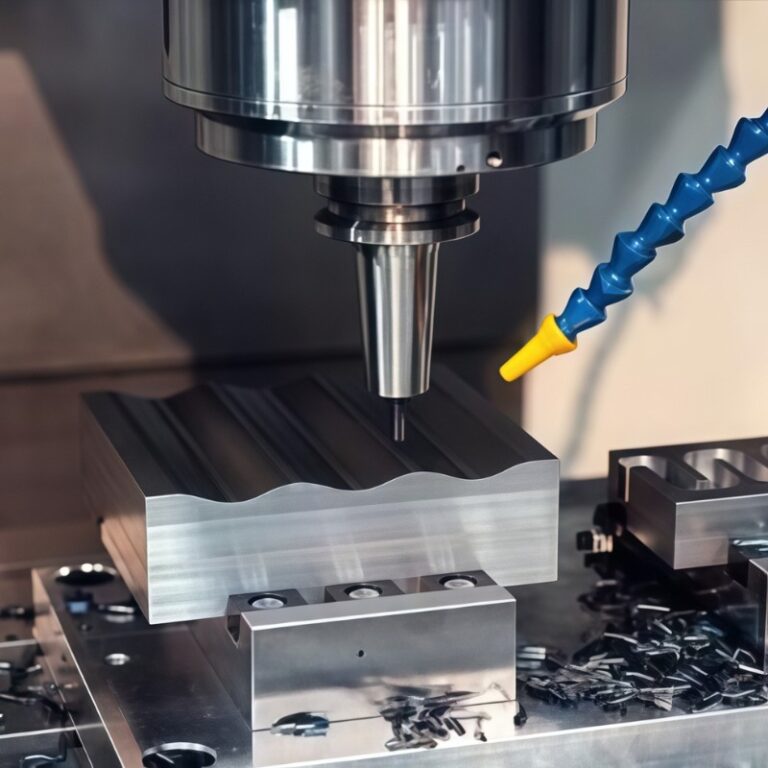
CNC Milling
CNC milling is the most common method for prototype production. It uses rotating tools to cut materials from various angles, making it ideal for flat surfaces, pockets, slots, and complex 3D contours.
Key advantages:
Excellent for aluminum, stainless steel, brass, and plastics.
Supports tolerances commonly within ±0.01 mm.
Ideal for functional prototypes requiring strength and precision.
Example: Many of my clients’ mechanical housings, brackets, and motor bases rely on milling due to strict tolerance requirements.
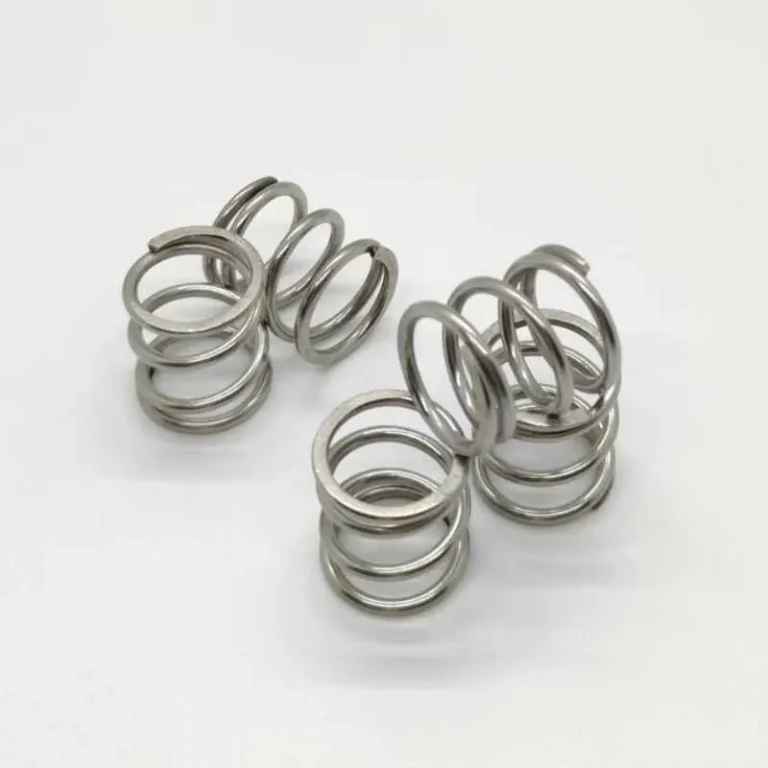
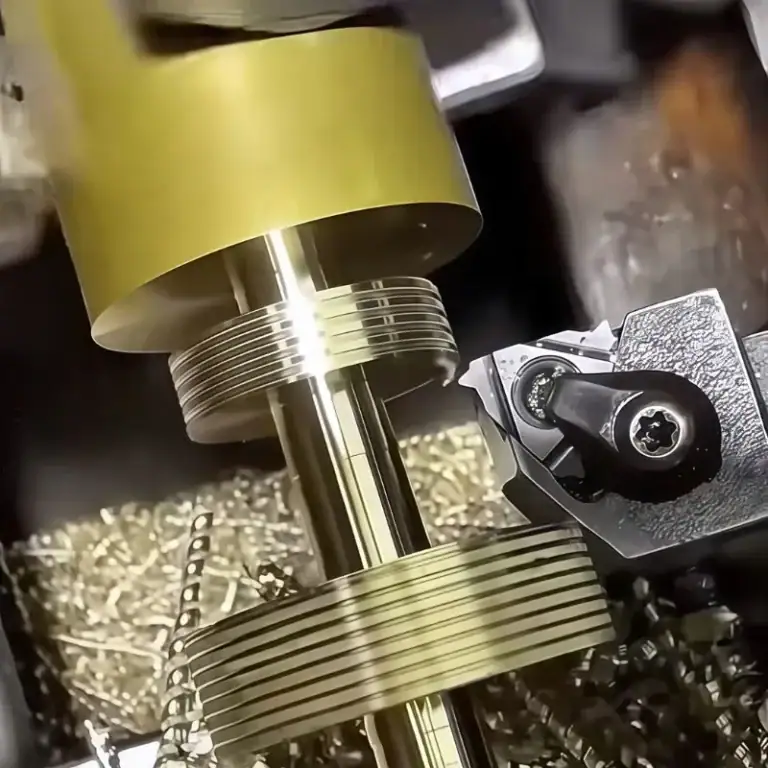
CNC Turning
CNC turning is best for cylindrical or shaft-type components.
Key advantages:
High efficiency for round parts.
Excellent surface finish (Ra 0.8–1.6 μm achievable).
Perfect for pins, bushings, threaded parts, and connectors.
Example: Automotive clients often request turned prototypes for shafts or threaded rods for fit-testing.
5-Axis Machining
5-axis machining allows cutting from multiple directions without repositioning the part.
Key advantages:
Capable of producing complex shapes and curved surfaces.
Reduces setup time and improves precision.
Best for aerospace, robotics, and medical prototypes.
Example: I’ve made aerospace airfoil test pieces using 5-axis due to their compound curved geometry.
Multi-Station / Multi-Process Machining
This integrates milling, turning, drilling, tapping, and cutting in one setup.
Key advantages:
Faster cycle time and better consistency.
Reduced clamping errors and higher dimensional repeatability.
Suitable for small-batch runs after prototype approval.
Example: Many robotics clients use this mode to shorten prototype-to-production transition.
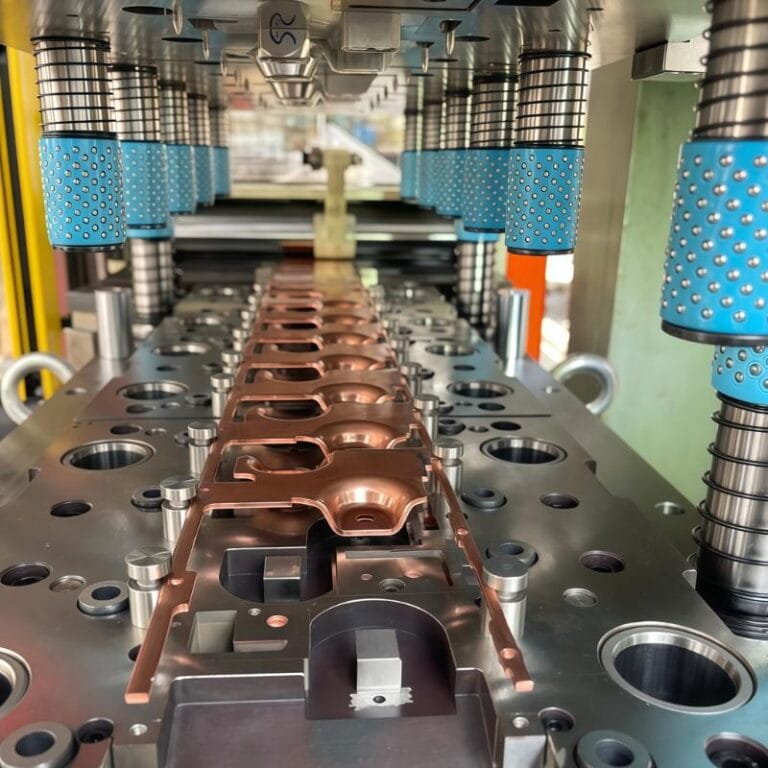
Rapid Tooling (Fast Fixtures & Soft Molds)
Rapid tooling supports early functional tests without investing in full production molds.
Key advantages:
Cost-effective for bridge production (50–500 pcs).
Quickly replicates production-grade part geometry.
Helps validate assembly, strength, and user interaction.
Example: Consumer electronics clients often make silicone molds or aluminum soft molds to validate designs before mass production.
What Advantages Does CNC Prototyping Have Compared to Other Prototyping Methods
When comparing how different prototyping methods transform a digital design into a physical part, CNC machining consistently stands out for accuracy, material flexibility, mechanical performance, and repeatability. Below, I’ll break down how CNC compares to 3D printing, injection molding, and casting—based on real project data and hands-on experience.
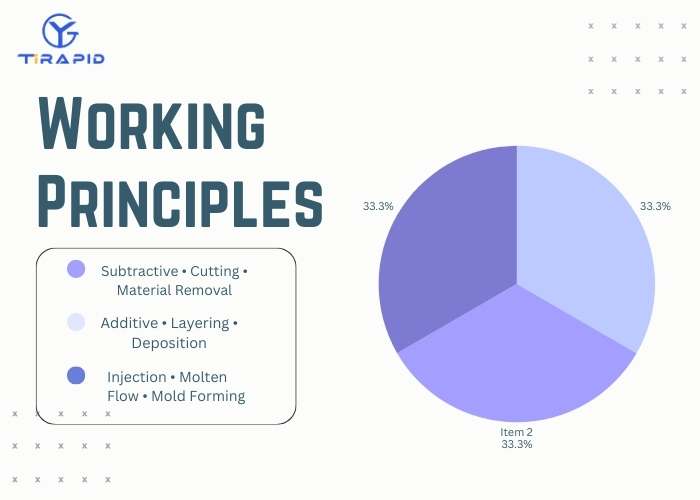
Working Principles
CNC machining: Removes material from a solid block using controlled cutting tools (subtractive manufacturing).
3D printing: Builds parts layer-by-layer (additive manufacturing).
Injection molding: Forms parts by injecting molten plastic into a mold.
Why CNC wins: subtractive cutting produces stronger, more accurate, and more consistent structures without layer bonding weaknesses.
Supported Materials
CNC supports 100+ materials: aluminum, steel, brass, titanium, POM, ABS, PC, PMMA, carbon fiber composites, etc.
3D printing supports limited plastics, metal printing is expensive and less accessible.
CNC lets you prototype in the exact material used for mass production—crucial for structural testing.
Tolerances
CNC tolerance: ±0.01 mm, suitable for aerospace, robotics, and medical components.
3D printing tolerance: typically ±0.1–0.3 mm.
Molding tolerance: depends on shrinkage and mold quality.
If your prototype requires precision fits, CNC is the only reliable choice.
Strength & Durability
CNC parts have continuous material grain, delivering up to 3–5× stronger mechanical properties than 3D-printed parts.
No weak layer lines, no porosity, no unpredictable mechanical failure.
Ideal for load-bearing parts, fixtures, housings, gears, brackets, frames, etc.
Cost & Time
CNC is faster than molding (no tooling) and more accurate than 3D printing.
Best cost range: functional prototypes, engineering samples, short-run production (1–200 pcs).
For complex organic shapes, 3D printing is cheaper, for structural prototypes, CNC offers better ROI.
Environmental Impact & Material Waste
CNC produces chips (waste), but 95%+ of metals are recyclable.
3D printing waste is lower, but many printed prototypes cannot be reused.
CNC’s recyclability offsets most environmental concerns—especially for aluminum and steel.
How to Prepare High-Quality CAD Drawings for CNC Prototype Machining
The quality of your CAD drawings largely determines whether prototype machining succeeds on the first try. Most prototype cnc machining failures come from missing details or unrealistic tolerances. I’ve distilled six essential preparation steps that will help you reduce machining risks, prevent rework, and speed up your development process.
Recommended Wall Thickness
Plastics: ≥1.0–1.5 mm, Metals: ≥0.8–1.0 mm. Thin walls cause tool vibration, deformation, and out-of-tolerance parts.
One client designed an aluminum wall thickness of 0.5 mm—five reworks still failed due to structural weakness.
For load-bearing parts, adjust thickness based on FEA results instead of appearance.
Chamfers & Fillets
CNC tools are round, internal corners must include fillets, typically R1–R3 mm.
Sharp internal corners require EDM, increasing cost by 20–50%.
Add 0.2–0.5 mm chamfers on external edges to reduce burrs and improve assembly feel.
Avoid Over-Tolerancing
Recommended: ±0.1 mm for plastics, ±0.02–0.05 mm for metals.
Avoid specifying ±0.01 mm on non-critical surfaces—this raises machining cost by 2–3×.
I’ve seen cases where all dimensions were set to ±0.02 mm, resulting in a 4× higher quote.
Avoid Overly Complex Geometry
Deep cavities (depth > 4× tool diameter) cause chatter and poor finishing.
Tall thin features (height-to-width > 6:1) lead to instability and breakage.
If complexity is required, consider splitting parts into sub-components with screw or locator structures.
Simplify Engineering Drawings
Only include critical dimensions and CTQs.
Remove redundant notes (“Default tolerance: ISO2768-m” is sufficient).
Always specify: material, surface finish, quantity, and assembly direction.
Design Checklist
Use this machining-ready checklist:
Is wall thickness suitable for strength and manufacturability?
Are internal corners filleted?
Are tolerances categorized (critical vs non-critical)?
Are there any undercuts or unmachinable features?
Does the surface finish match the material?
Should the part be split for easier machining?
How to Evaluate the Cost of CNC Prototype Machining
Understanding cost structure is essential in prototype development—it helps you optimize design, control budget, and reduce production risks. CNC prototype cost is influenced by machining time, material price, process complexity, surface finishing, tool wear, and batch quantity. This section breaks down each factor so you can clearly estimate, optimize, and plan your CNC prototype budget.
Machining Time
Time is the biggest cost driver
The more toolpaths, deeper cuts, or slower feeds required, the higher the machining time.
Example:
A deep pocket enclosure I handled required six slow-step passes due to tool chatter risk—its machining time was 3× longer than a normal enclosure.
Tip: Add fillets, reduce wall depth, and simplify internal geometry to cut machining time significantly.
Material Cost
Material prices vary dramatically
Aluminum 6061 is cheap, titanium or PEEK can cost 10–30× more.
What drives material cost?
Raw material price
Stock size (thicker blocks cost more)
Material waste from subtractive machining
Tip: Use lower-cost materials (like aluminum or ABS) for early testing, then upgrade later.
Process Complexity
More operations = higher cost
Example: 3-axis milling + deburring + tapping + 5-axis refinishing.
Complex features cost more
Deep grooves, thin walls, sharp internal corners all increase complexity.
Tip: Simplified geometry reduces both setup time and cost.
Surface Finishing
Finishing can be 10–40% of total cost
Anodizing, sandblasting, plating, coating—all require extra setup.
Cost factors include:
Special colors
Food-grade or aerospace certification
Multiple sample color approvals
Tip: For prototypes, natural anodizing or simple bead-blast is often enough.
Tool Wear
Tool wear is an invisible cost
Hard materials like stainless steel or titanium wear tools extremely fast.
Why this matters:
Premium tools are expensive
Tool replacement causes machine downtime
Tip: Avoid tiny radii that require micro end-mills—they wear out quickly and increase risk.
Small-Batch Cost vs Single-Piece Cost
Single prototypes are the most expensive
Every part requires separate programming, setup, and inspection.
Small batches (5–20 pcs) are much more cost-effective
Programming and setup are amortized across all parts.
Tip: If you plan to scale later, consider ordering small batches early to validate consistency.
What What Are the Common Limitations of CNC Prototyping and How to Avoid Them
CNC prototyping delivers exceptional precision, but it also comes with inherent limitations due to its subtractive nature. I’ve summarized the four most common CNC prototyping limitations and practical ways to avoid them—helping you reduce 80% of risks during development.
High Material Waste (Subtractive Manufacturing)
CNC removes material from a solid block, resulting in 40%–70% waste depending on geometry.
Main reasons
Cutting requires machining allowances.
Complex shapes require larger raw stock.
Expensive metals (aluminum, copper, titanium) amplify waste impact.
How to reduce it
Split the part into multiple sections and assemble (20%–40% material savings).
Choose materials with better machinability (Al 6061 >> Al 7075 >> Titanium).
Ask for DFM optimization to reduce unused volume.
A German client reduced material cost from $180 to $85 simply by redesigning a one-piece part into a two-piece assembly.
Certain Geometries Cannot Be Machined
Tool length, diameter, and rigidity create machining constraints.
Typical non-machinable features
Deep cavities exceeding 4× tool diameter.
90° internal corners (end mills are round).
Fully enclosed internal structures.
Workable solutions
Split and assemble parts.
Replace sharp corners with R2–R5 fillets.
Use hybrid processes: 3D printing + post-machining.
High-Tolerance or Complex Areas Require Skilled Engineers
Tolerances tighter than ±0.01 mm or complex geometries require senior technicians.
Why
Tool compensation and thermal expansion must be controlled.
Hard materials like titanium easily break tools with wrong settings.
How to avoid issues
Mark CTQ (Critical To Quality) dimensions clearly.
Use default tolerances (±0.1 mm) for non-critical surfaces.
Confirm the factory has experienced operators (5+ years).
Higher Unit Cost Than 3D Printing
CNC has fixed programming and setup costs, making one-off parts more expensive.
Cost drivers
CAM programming & toolpath setup.
Workholding and alignment.
Tool wear (especially for steel/copper).
How to optimize
Machine several variants together to spread setup cost.
Use 3D printing for appearance, CNC for mechanical testing.
Use plastics for early verification before switching to metal.
How to Choose the Right CNC Factory for Prototyping
Based on years of working with Chinese CNC suppliers, I’ve summarized six core criteria—equipment capability, material expertise, tolerance control, industry experience, delivery reliability, and small-batch support. With these factors, you can confidently identify a trustworthy CNC partner and avoid costly trial-and-error.
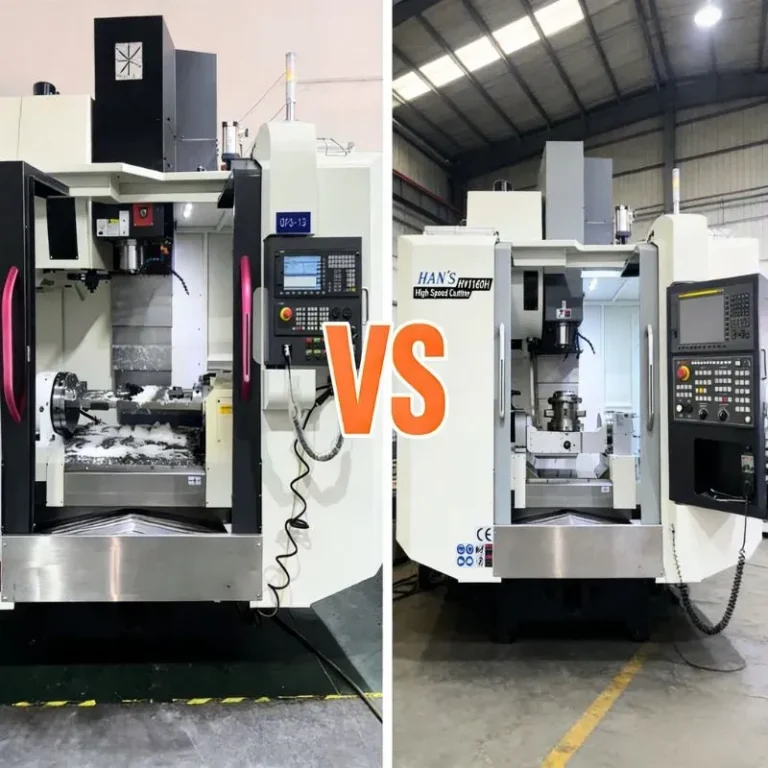
Equipment Capability (3-axis / 4-axis / 5-axis)
3-axis: Best for flat, simple components (60%+ of prototypes).
4-axis: Ideal for multi-face features and reducing setup times.
5-axis: Required for complex curves, deep pockets, aerospace-grade parts, tolerances as tight as ±0.01mm.
Example:
A medical titanium part required curved surfaces with high precision. Switching from 3-axis to 5-axis reduced setups from 6 to 1 and improved tolerance stability by 40%.
Material Inventory & Machining Experience
Good factories keep stock of aluminum 6061/7075, stainless steel 304/316, brass, ABS, POM, PC, etc.
Material expertise is crucial: stainless steel deforms easily, ABS melts, and 7075 chips aggressively.
Real Case:
A deep-cavity 7075 part produced poor surface finish at one factory. A more experienced supplier adjusted tooling and roughing strategy, improving Ra3.2 → Ra1.6.
Tolerance & Precision Control
A capable factory should consistently achieve:
General: ±0.05mm
High precision: ±0.01–0.02mm
Ultra precision: ±0.005mm with temperature-controlled workshops
Request from the factory:
CMM reports, QC workflow, machining parameter logs.
Note:
One-time precision doesn’t equal capability. Consistency matters more.
Industry Experience
Medical: burr-free, extremely tight tolerances
Automotive: functional fit & repeatability
Aerospace: 5-axis curved surfaces
Consumer electronics: cosmetic perfection
Robotics: assembly alignment accuracy
Industry experience reduces risk and rework.
Delivery Speed & Quality Assurance
A reliable CNC factory should provide:
Rapid sample production (2–5 days)
Transparent progress updates
CMM / caliper / thread gauge inspections
Fast problem resolution within 24 hours
A strong indicator of professionalism:
Proactively sending inspection videos & reports before shipment.
Small-Batch Production Readiness
A strong prototype factory must support:
Dimensional consistency across batches
Surface finishing (anodizing, brushing, sandblasting)
10–500 pcs small-batch production
Smooth transition from prototype to production
Which Industries Benefit Most from CNC Prototyping
Sectors such as medical devices, automotive and new energy, aerospace, defense, consumer electronics, robotics, and automation require CNC-machined components. These industries depend on CNC machining to verify fit, performance, and manufacturability before moving to mass production.
| Industry | Typical Product Characteristics | Common Application Scenarios | CNC-Machined Components Needed |
| Medical Devices | High precision, high cleanliness, small-batch validation | Surgical instruments, implant development, diagnostic equipment | Titanium implants, stainless-steel surgical tools, precision connectors |
| Automotive / New Energy | High strength, dimensional stability, high reliability | Battery systems, body structures, thermal management modules | Battery housings, heat-sinks, aluminum brackets, functional test parts |
| Aerospace | Complex structures, high-performance materials, ultra-high precision | Aircraft components, turbine assemblies, test parts | Aluminum/titanium structural parts, lightweight components, brackets, fluid connectors |
| Military | Small batch production, multiple iterations, strict confidentiality | Equipment housings, weapon system components, testing parts | Reinforced structures, impact-resistant metal parts, high-strength connectors |
| Consumer Electronics | Fine appearance, fast iteration, high assembly accuracy | Smartphones, laptops, smart home devices | Aluminum enclosures, plastic structural parts, heat-dissipation components, high-gloss appearance parts |
| Robotics | Multi-axis motion, complex structures, small-batch validation | Joint systems, sensor modules, control units | Aluminum frames, motion brackets, gear mounts, installation bases |
| Automation Equipment | Highly customized, complex structures, high durability | Jigs, fixtures, automation modules | Precision fixtures, aluminum frames, connectors, positioning components |
FAQs
Can CNC Prototypes Be Used For Functional Tests?
Yes—CNC prototypes are ideal for functional testing because they can achieve 95%+ structural similarity to final parts. I routinely help clients validate assemblies, load-bearing points, thermal behavior, and motion mechanisms using CNC prototypes made from the same metals or engineering plastics as production components. If a project requires durability, precision, or realistic user testing, CNC machining delivers the most reliable functional results.
What Is The Smallest Tolerance CNC Can Achieve?
Based on real machining capability, a high-end CNC machine can consistently achieve ±0.01 mm, and in some ultra-precision cases, ±0.005 mm with proper fixturing and environmental control. In my projects, general prototypes typically use ±0.05–0.1 mm, while aerospace or medical parts may require tighter tolerances. The achievable tolerance always depends on material type, geometry, and machining setup.
What Files Do I Need To Provide For CNC Prototyping?
To start CNC prototyping smoothly, I require a 3D file (STEP/IGES) for programming and a 2D drawing (PDF) defining tolerances, thread specs, radii, and surface finish. If available, a BOM list, assembly references, and material specifications help shorten communication time. With complete files, I can deliver accurate DFM feedback and reduce manufacturing risks by 30–50%.
Is The Cost Of CNC Prototype Machining High?
The cost depends heavily on material, geometry complexity, tolerance, and required quantity. CNC is more expensive than 3D printing, especially for single units, but for functional metal or high-precision parts, CNC reduces rework and yields 80% fewer design risks. In many cases, CNC becomes more cost-effective because it avoids the need for molds and supports fast iteration without tooling fees.
Is CNC Machining Suitable For All Prototypes?
CNC machining is ideal for prototypes requiring precision, strength, heat resistance, or realistic functional performance. However, it is not suitable for designs with fully enclosed internal structures or extremely organic shapes—those are better for additive manufacturing. From my experience, about 70% of engineering prototypes benefit most from CNC, while the remaining rely on 3D printing or soft tooling depending on complexity.
Conclusion
CNC prototype machining is one of the most reliable ways to verify design, functionality, and manufacturability before moving into mass production. With its high precision, strong material adaptability, and rapid turnaround, it helps reduce development risks and ensures your prototype performs like the final product.If you have any needs or ideas regarding CNC prototyping, please feel free to contact us. We will do our best to provide you with the perfect production solution!