


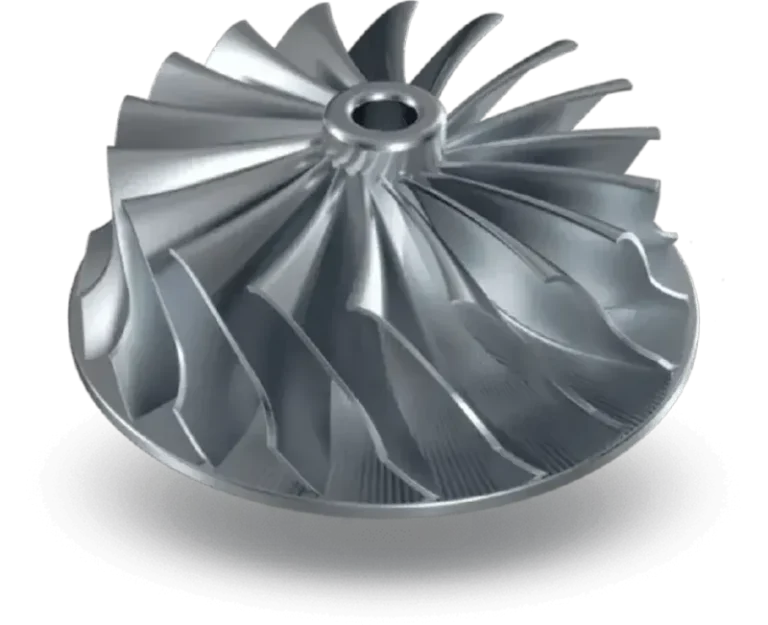
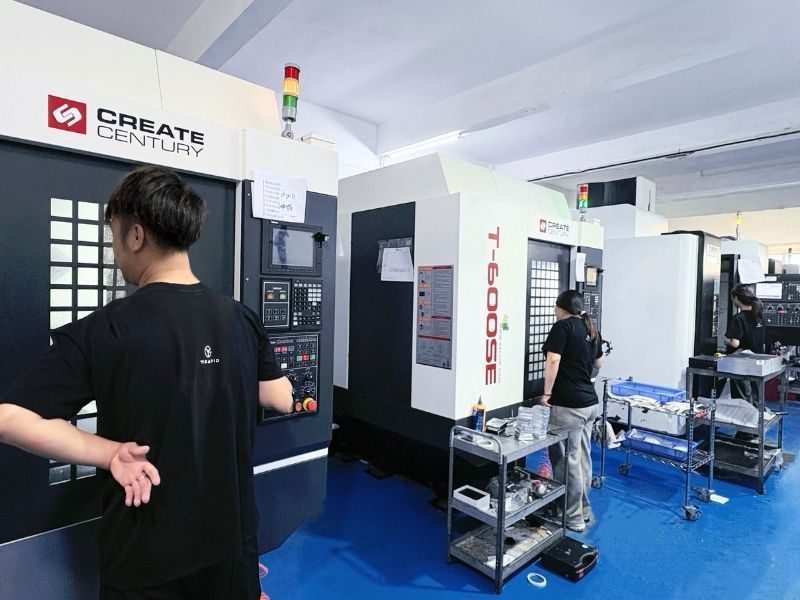
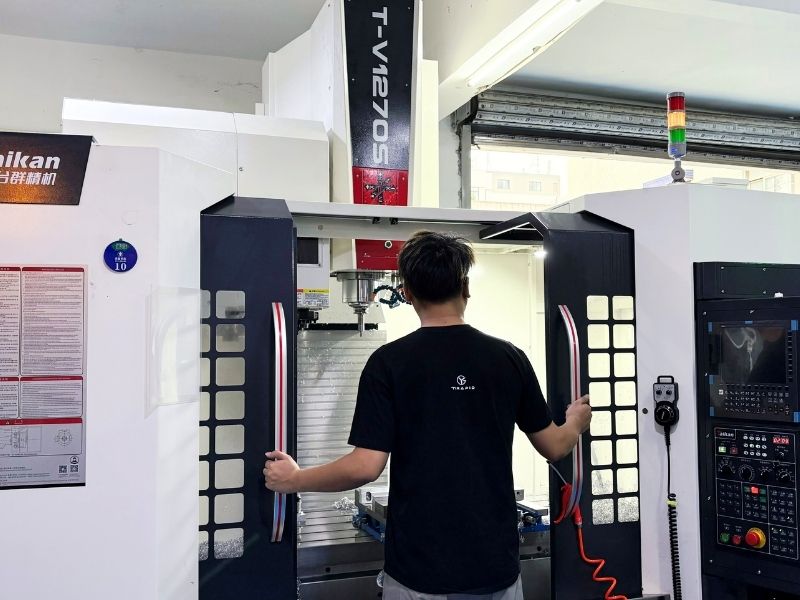
3 & 5 Axis CNC Milling
5-axis machining can precisely process complex surfaces, multi-faceted and angled features, reducing machining time.
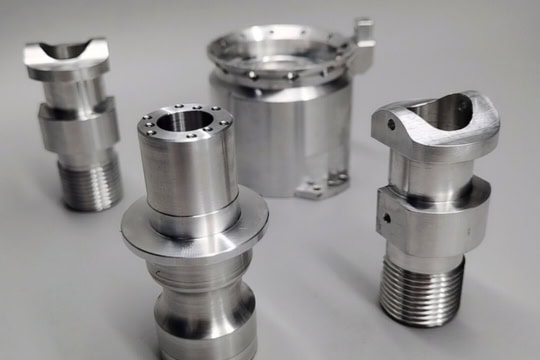
CNC Turning
CNC turning can accurately produce circular and cylindrical parts, providing high-quality surface finishes.
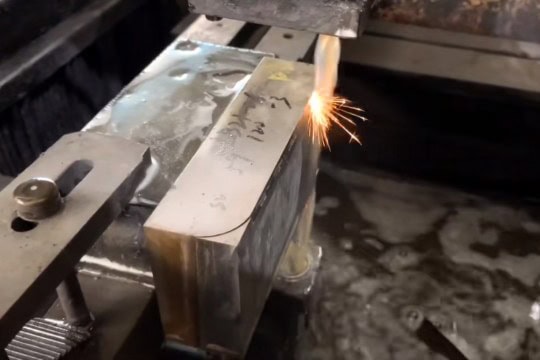
EDM
EDM can machine high-hardness materials, sharp corners, right angles, and complex contours.
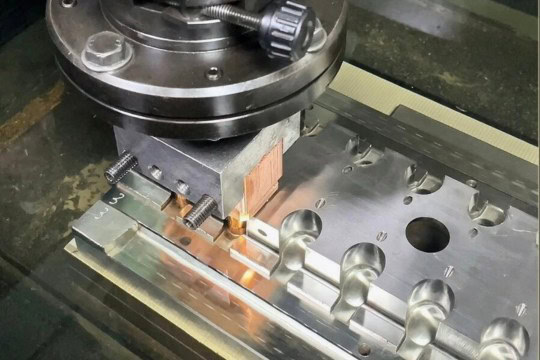
Wire EDM
Wire EDM is capable of cutting deep holes and producing high-precision, fine contours in parts.

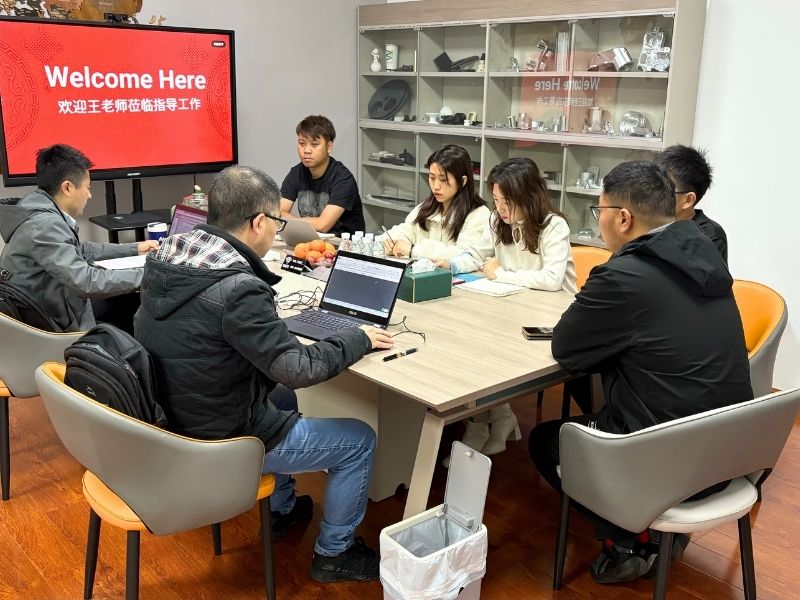
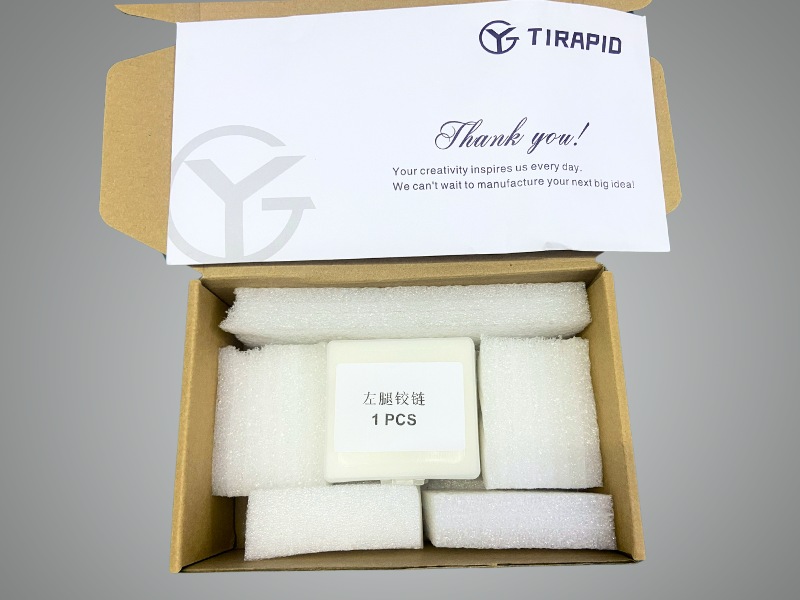
Secure & Confidential Manufacturing
At Tirapid, we prioritize the confidentiality of your design and manufacturing process. All customer files and production details are strictly protected, ensuring security is maintained at every stage.

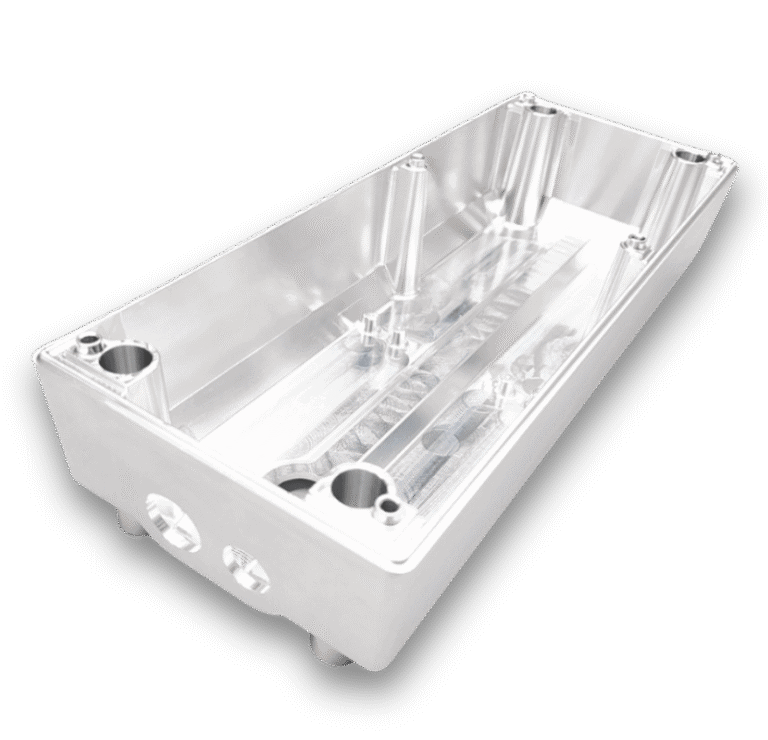
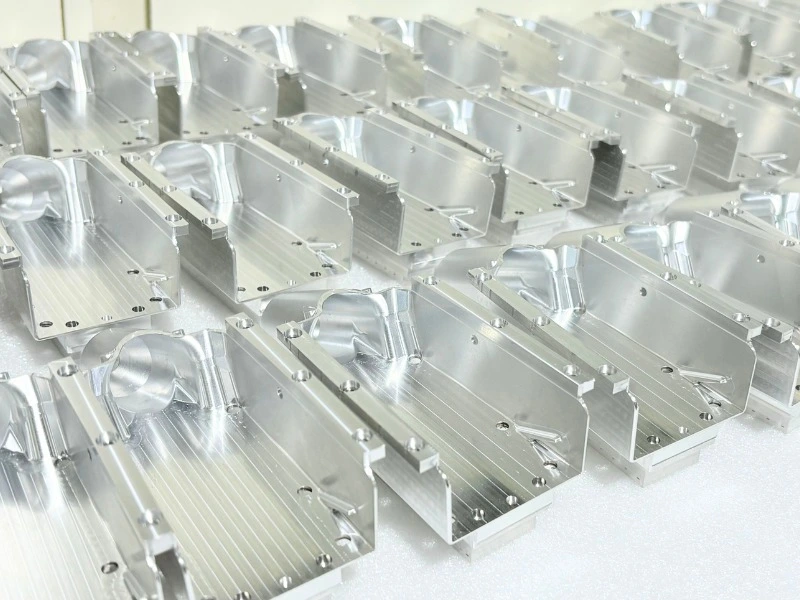
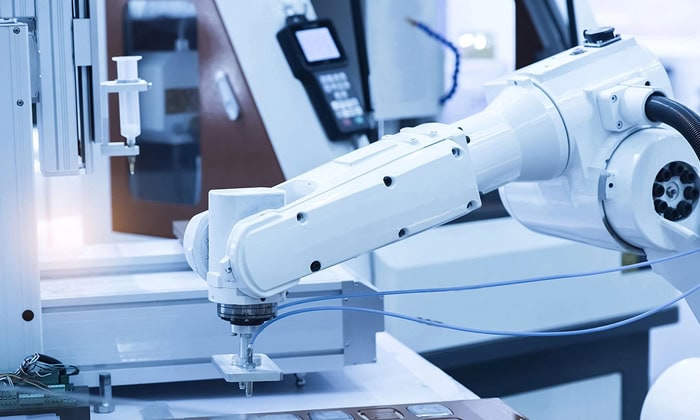
Full-Spectrum Manufacturing Capabilities
From precision CNC machining to injection molding, sheet metal fabrication, and stamping, we deliver end-to-end manufacturing solutions tailored to your project needs — all under one roof.

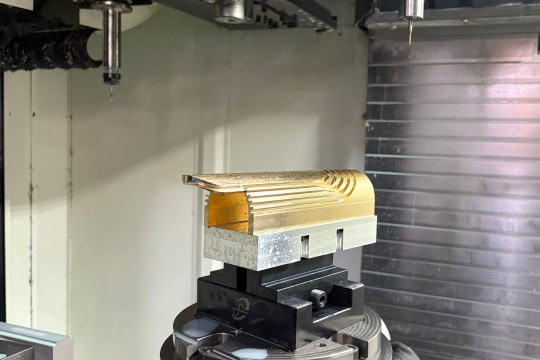
Fast Turnaround & On-Time Delivery
Efficiency is at the core of our operations. With streamlined production processes, we deliver high-quality CNC parts in as fast as 3-7 days, meeting tight deadlines without compromising precision and quality.

No Minimum Order Quantity (MOQ)
We support both prototyping and small-batch production, giving you the flexibility to order exactly what you need. We provide cost-effective solutions tailored to your project.
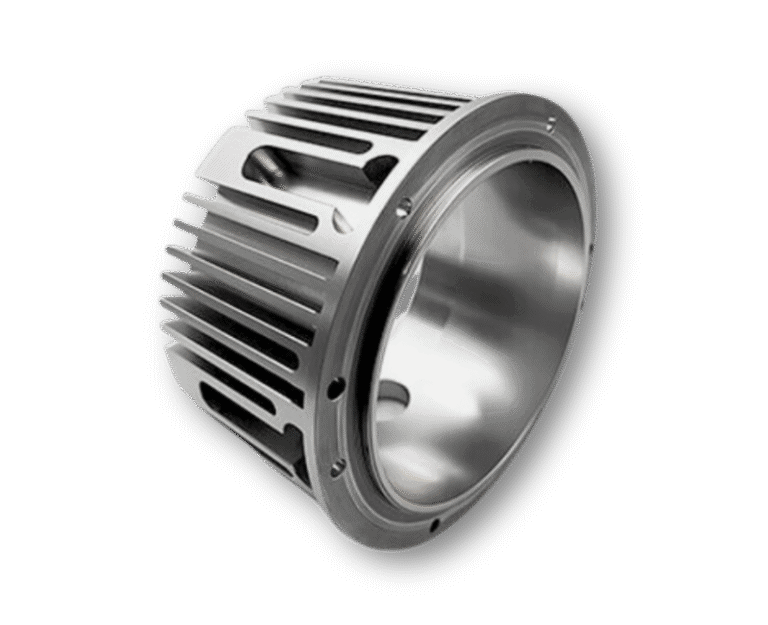
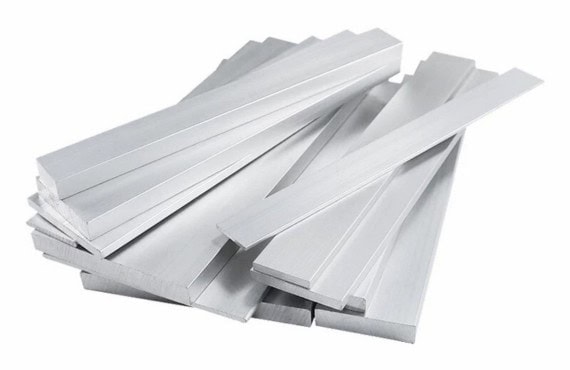
Multi-Material Manufacturing Options
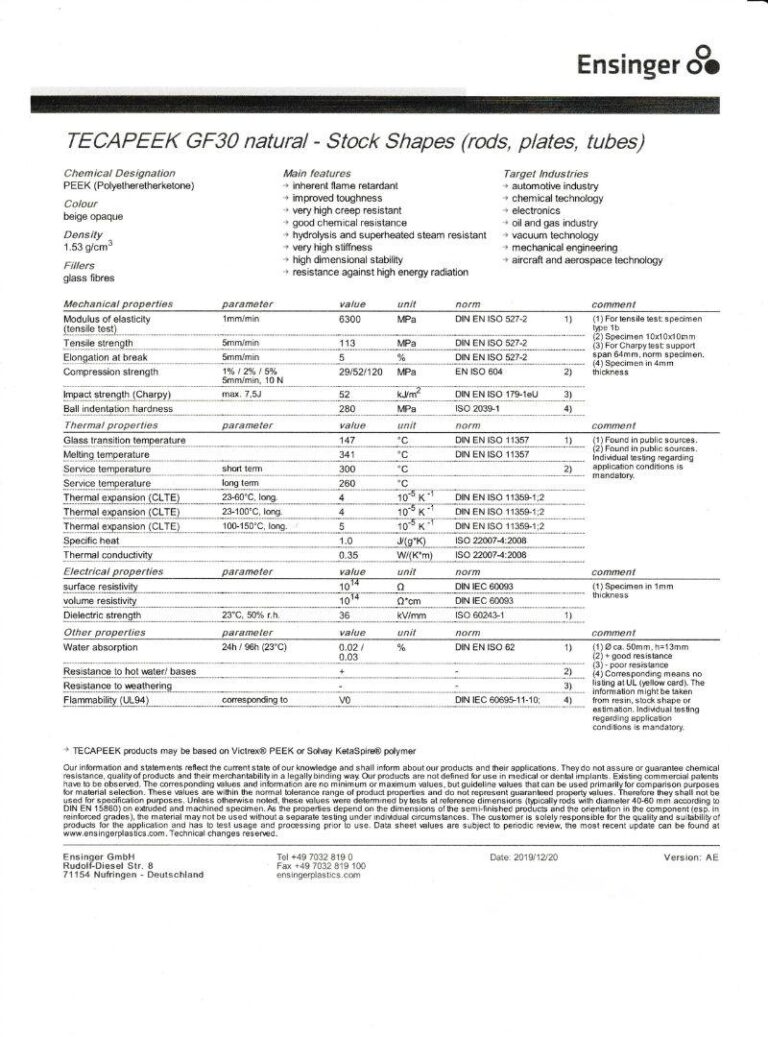
Our team excels in machining intricate geometries and challenging materials, including titanium, stainless steel, aluminum, brass, and engineering plastics.

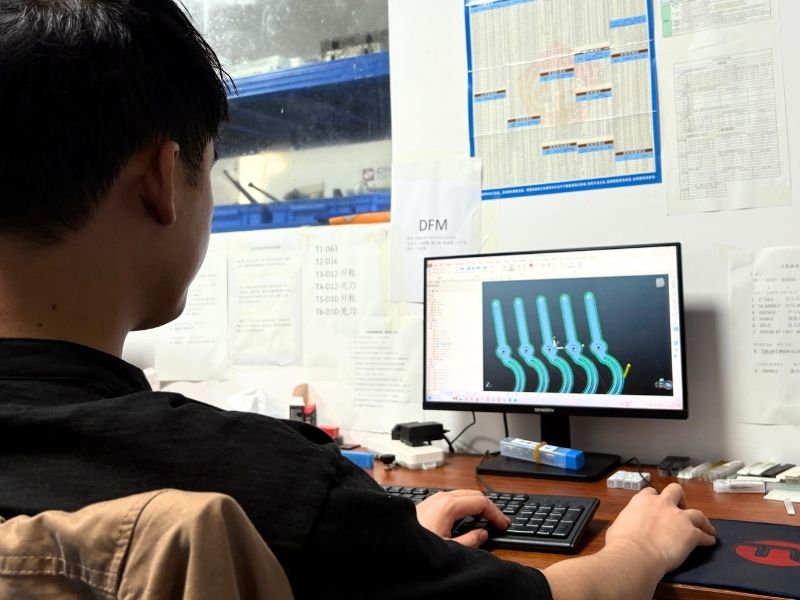
Design & Process Optimization
Beyond manufacturing, we assist in design for manufacturability (DFM) to help optimize your designs, improve production efficiency, and reduce costs.


Bella Liang
Purchaser Manager

Galen Cui
Founder

Maggie Du
Project Manager

Nick Zhai
Project Manager

Rea Tang
Founder

Zoey Yong
Project Manager

Kaya Chen
Project Manager

Lin Fu
Prodction Director

Candy Liu
Project Manager

Chloe Xu
Project Manager


"Excellent Quality and Pricing"
The CNC machined parts I received from TIRAPID were flawless and delivered at an unbeatable price. The precision and quality were exceptional, and their team was responsive to my feedback throughout the process. I’ll definitely choose TIRAPID for my future projects.

"Outstanding Customer Service"
My experience with TIRAPID was fantastic! The ordering process was seamless, and the customer service team was always available to answer my questions. The parts arrived ahead of schedule and were in perfect condition. TIRAPID has earned my trust as a reliable partner.

"Fast Production and Timely Updates"
TIRAPID kept me updated throughout the production process, and I appreciated being able to check my order status online. The parts were manufactured quickly, carefully packaged, and delivered on time. Their communication and efficiency are truly commendable.

"Consistent Excellence"
I have worked with TIRAPID on several projects, and their quality and service never fail to impress me. Their attention to detail and skilled workmanship are unmatched. I’ve recommended TIRAPID to my colleagues, and they share my high regard for their services.
