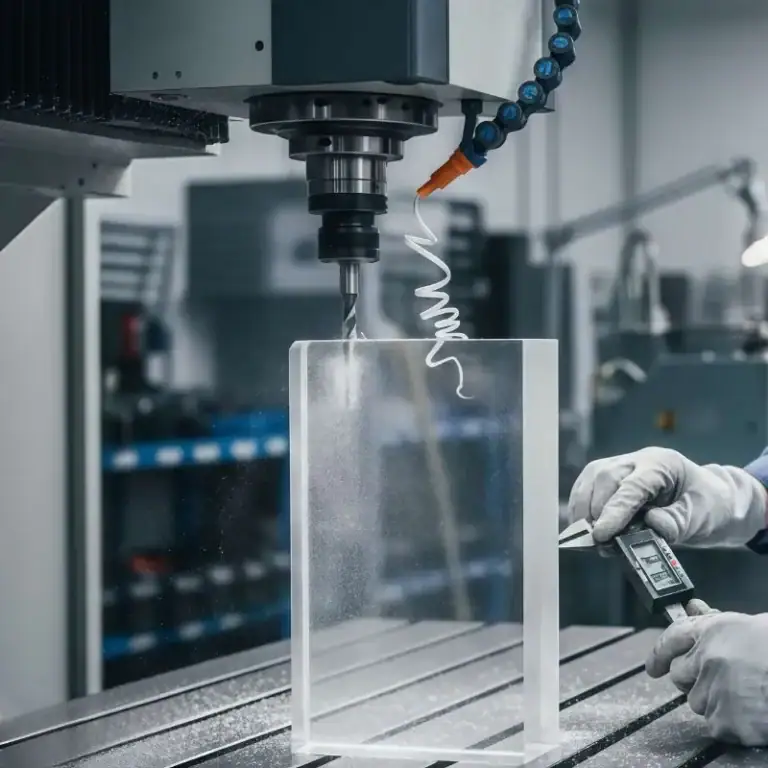
Have you ever held a finely crafted product or machine part in your hands and noticed how smooth and refined its edges were? Or have you ever touched a prototype that felt a little… unfinished, or even sharp in places? Dealing with sharp corners, involving fillets and chamfers, is a common challenge in the world of CNC manufacturing.
What is a Chamfer?
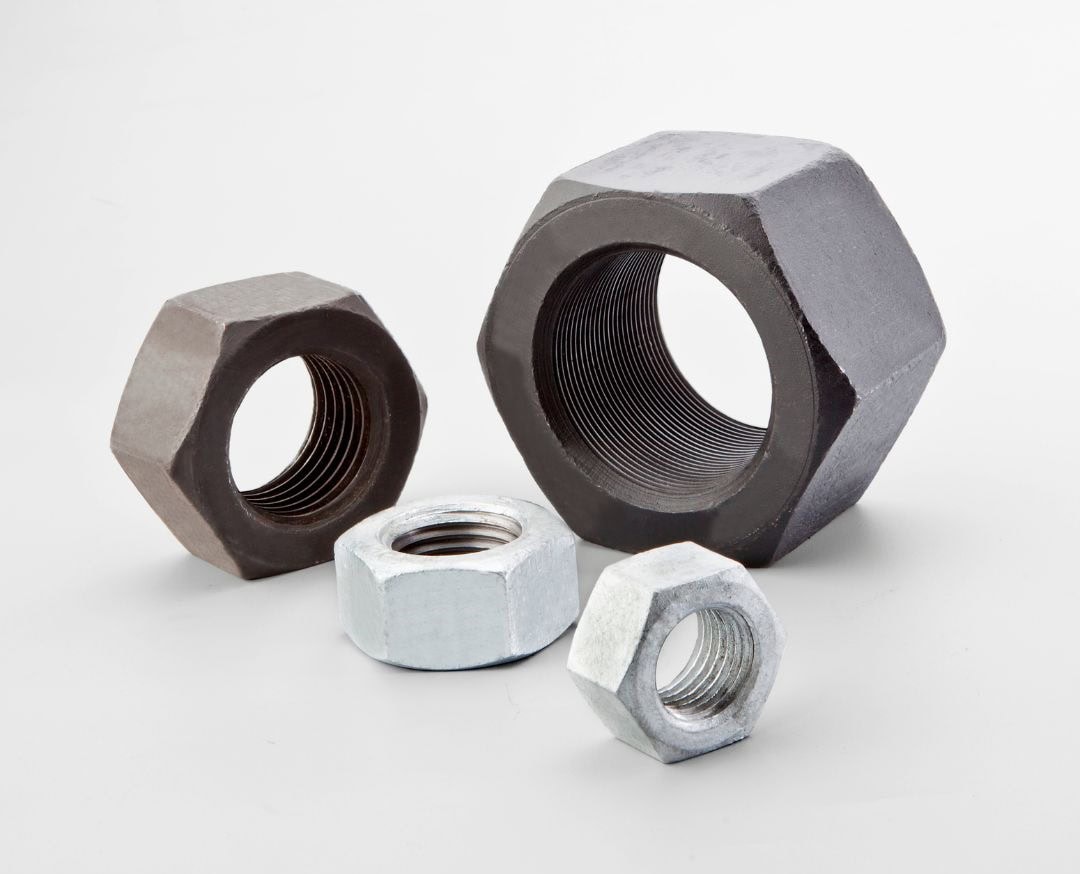
Chamfering is a beveled cut made on the edge of a material, primarily to remove corners. Imagine a sharp corner, then cutting it at an angle. That’s a chamfer.
Visually, a chamfer is a flat or beveled surface formed where two faces meet. Unlike curves, chamfers are defined by straight and angular features. They are orderly, concise, and purposeful. However, unlike pure stylistic enhancements, chamfers create a sharp angle between two planes, and therefore play a vital role in manufacturing and design.
Why use chamfers?
- Safety First
Injuries to metalworkers from sharp corners are common. No one wants to injure their hands by scratching the edge of a steel component. Chamfers can reduce the dangerousness of these edges, making the parts easier to handle.
- Smooth Assembly
When assembling mechanical parts, chamfers can act as a natural guide, helping with smooth assembly. This, in turn, helps the parts align without any pinching or jamming. Chamfers help achieve smooth sliding alignment when lining up pins, installing pins, or nesting parts.
- Burr Control
Burrs are small, unwanted portions of material left after machining and drilling. Using a chamfering tool, you can grind the edge into a chamfer, which helps remove the unwanted portion while providing a clean surface without the need for manual polishing after machining.
- Bolt and Screw Lead-In
A 60° chamfer can be used as a lead-in, which is very useful for some bolts and screws. This makes them flush or slightly recessed, which is preferred for mechanical joints and countersunk fittings.
- Stylistic Aesthetics/Product Design Appeal
Let’s not forget about style. Chamfers can create a sharper product look or give a product a sense of structure through a clearer edge shape. If the edge is 45 degrees, it can be said to be well-balanced, while 30 and 60 degrees bring their own unique style. Depending on the application, the product can be rugged, precise and reliable, or even elegant.
Whether it is for ergonomics, ease of assembly, or to look sharper and more professional, very subtle, understated details can often make a design more beautiful with the help of chamfers, making the design both functional and useful, as opposed to those details that are often exaggerated and showy.
What is a Fillet? Understanding the Rounded Corner
Now, let’s look at the fillet. A fillet is a curved or rounded edge created by blending two surfaces together. Instead of an angle, you get a smooth curve or arc.
Fillets are widely used and serve some incredibly important functions:
Strength: This is a big one! Fillets significantly enhance strength by distributing stress more evenly across a larger surface area. This reduces stress concentration points, making parts much more robust and less likely to crack or fail under load. Fillets provide superior stress flow compared to chamfers.
Aesthetics: They give parts a smooth, refined, and often more attractive look. Industrial designers often prefer fillets for their appealing look.
Safety: Just like chamfers, fillets eliminate sharp corners, making parts safer to handle. The rounded surface is much safer on the skin.
Fluid/Material Flow: They can improve how fluids or materials flow around or through a part.
Coatings: Fillets allow for a more even and thicker distribution of coatings like paint, preventing peeling and improving adhesion.
Fillets can be Miter, Concave, or Convex. It’s worth noting that on interior corners, they are concave (curved inwards), while on exterior corners, they are convex (curved outwards) and sometimes referred to as “rounds”.
The Differences between Fillet and Chamfer
While both chamfers and fillets modify edges, they are distinct features with different characteristics and primary applications. Let’s take a look at the main differences:
| Feature | Chamfer | Fillet |
| Shape | Beveled or flat angle | Rounded or curved angle |
| Primary Function | Eliminate sharp edges, improve assembly ease, deburring, lead-ins | Reduce sharp edges, distribute stress, strength, aesthetics, coating |
| Appearance | Cut corner section | Smooth, no sharp angles, curved, arc-like |
| Stress Reduction | Limited; focuses stress in a section | Significant; disperses stress evenly |
| Manufacturing Complexity | Relatively simple | Requires more precision/special tools |
| Tooling | Often one tool for different sizes | Needs different tools for different radii; special tools for concave |
| Machining Time | Faster/Shorter | More time-consuming (especially for curved edges/internal) |
| Cost | Relatively lower cost / Cheaper | Typically higher cost / More expensive |
| Durability | Lower, prone to wear | Higher, good wear resistance, less prone to cracks/fractures |
| Coating | Coating is easy to peel off due to sharp edge | Preferred, allows even distribution |
| Safety | Less safe than fillets, still possible to cut hand | Highly safer, rounded surface |
| Part Assembly/Fit | More tolerant for insertion/movement, ideal for mating parts | Can obstruct smooth movement (e.g., in holes), less forgiving |
| Typical Use Location | Often external features | Often internal features, but used on both |
This table really helps visualise the core differences, doesn’t it? They might seem similar at first glance, but their shapes lead to very different practical outcomes.
How do you decide whether to use a chamfer or a fillet?
First things first, not every product or edge needs a chamfer or a fillet. It’s crucial to think about rationality and feasibility. Only add them if they serve a specific functional requirement, improve feasibility, or are necessary for critical safety or aesthetics. Adding them increases manufacturing costs, so you want to make sure you’re getting a real benefit.
Here are some common scenarios to consider:
Holes for Fasteners: If your part has holes that will receive screws or bolts, you should always chamfer those holes. Chamfering creates a slope that facilitates smooth insertion and helps prevent obstructions or damage caused by sharp edges. Make sure the dimensions and angle match the specific fastener requirements. Using a fillet here is generally not a good choice as it can obstruct smooth movement.
Outer Edges: For outer edges, both can be used depending on your needs. Use chamfers to simply smooth edges for basic safety. They are safer than sharp corners because the edge is ‘broken’, even if less safe than a fillet. Choose fillets if appearance and significant stress distribution are more critical. Fillets are the best choice for eliminating sharp edges for safety and appearance on outer edges.
Mating Parts: When parts need to fit together, chamfers are generally more forgiving and tolerant for assembly ease and movement. This makes them ideal for components that require smooth insertion and movement.
Strength and Durability: If your part needs to be strong, especially under dynamic or high-load conditions, fillets are essential. They significantly enhance strength by dispersing stress and reducing concentration points. Chamfers are less effective for overall strength enhancement.
Coatings and Surface Finish: If you plan to coat or paint your parts, fillets are the preferred choice. Their rounded shape allows for more even and thicker paint distribution, preventing peeling. Chamfers have sharp edges where coatings can be thin and easily peel.
Specifying Edge Treatments: Dimensioning on Drawings
Getting the right edge treatment on your manufactured part means specifying it clearly on the engineering drawing. It’s like giving the manufacturer instructions in a universal language.

Here’s how they’re typically annotated:
Fillet Annotation: This is usually indicated using the letter “R” followed by the radius value. For example, “R10” means a fillet with a 10mm radius.
Chamfer Annotation: Chamfers are typically annotated using the letter “C” followed by dimensions. For 45° chamfers, the annotation is often simplified to just “C” followed by the size. This “size” usually refers to the distance from the corner along each adjacent edge. So, “C5” means a 45° chamfer that extends 5mm along each surface from the corner. For non-45° chamfers, you must explicitly state the angle and a linear dimension. The linear dimension is the distance from the dimensioned surface to the start of the chamfer. You can also use two linear dimensions.
Tolerances: Just like other dimensions, tolerances are crucial and are usually appended to the dimension. You’ll see “R” for fillets and “C” for chamfers followed by the tolerance value. For example, “R5 ± 0.2” or “C3x 45° ± 0.5”. Keep in mind that avoiding tight tolerances here can save you significant cost because they require more precise machining and inspection. If a size isn’t critical, a general note like “Chamfer sharp edges” with a range can be much cheaper.
Other methods using rulers and arrows pointing to the feature with the dimensions are also common.
Cost-Saving Tips for Fillets and Chamfers
Since adding edge treatments adds cost, here are a few ways to keep things economical:
Minimise Quantity: Only apply chamfers or fillets where they are functionally necessary or for essential safety/aesthetics. Treating the entire part unnecessarily adds cost.
Standardise: Use standard, commonly provided sizes and shapes. Custom or uncommon radii and angles can require special tooling, increasing costs.
Loosen Tolerances: Unless absolutely critical for function or assembly, avoid specifying tight tolerances. Tighter tolerances mean more precise machining and inspection, leading to higher costs.
Design for Process: Consider how the feature will be made. For instance, internal fillets are often a natural result of milling, so requiring sharp internal corners will increase costs.
Consider Subsequent Processing: If your parts need polishing, painting, or other post-processing, design your edges with these steps in mind to potentially reduce extra work later. Fillets are better for even coating distribution, for example.
Production Volume: Remember that the cost per part for these features is much lower in mass production compared to small runs or prototypes.
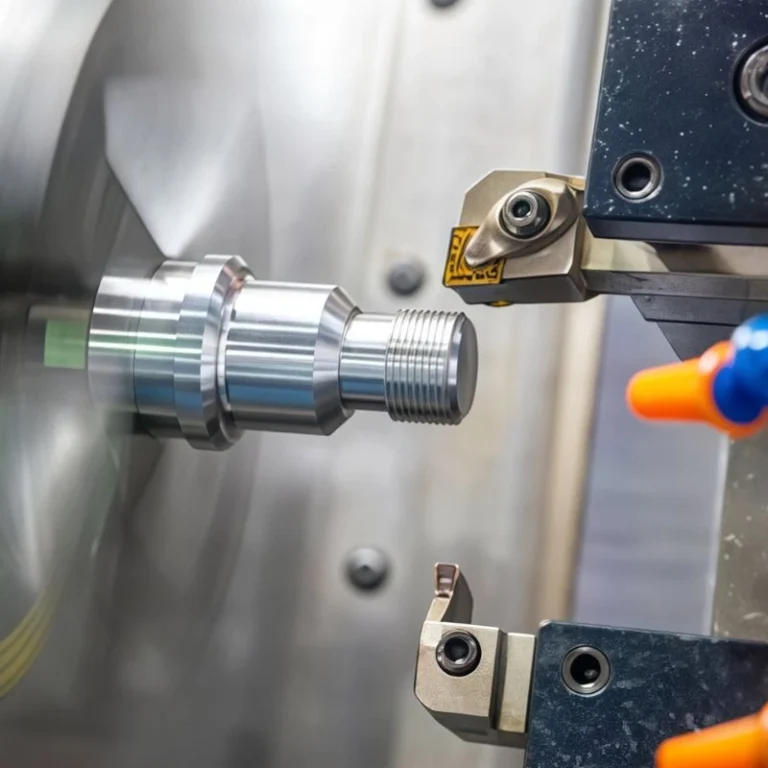
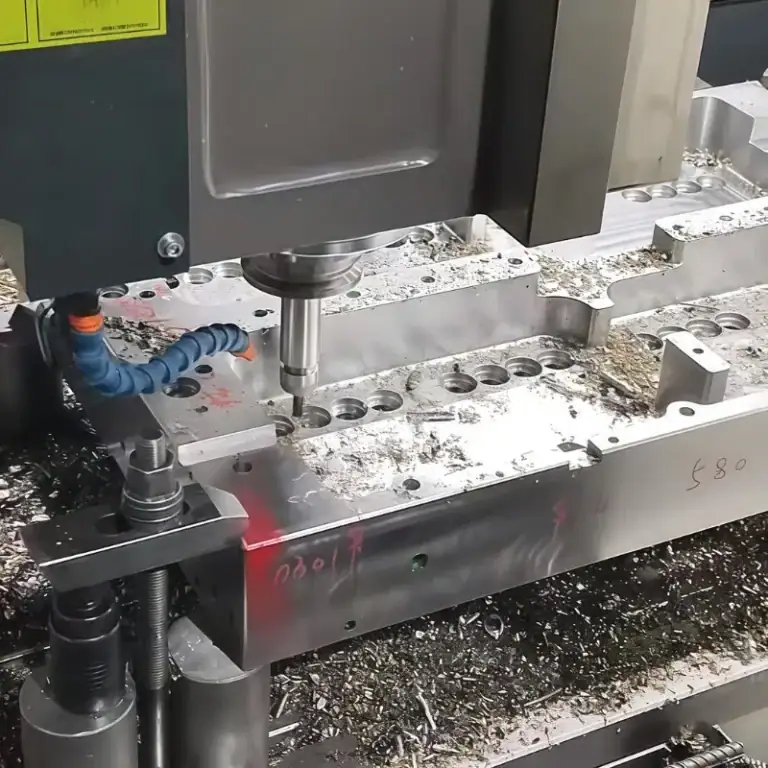
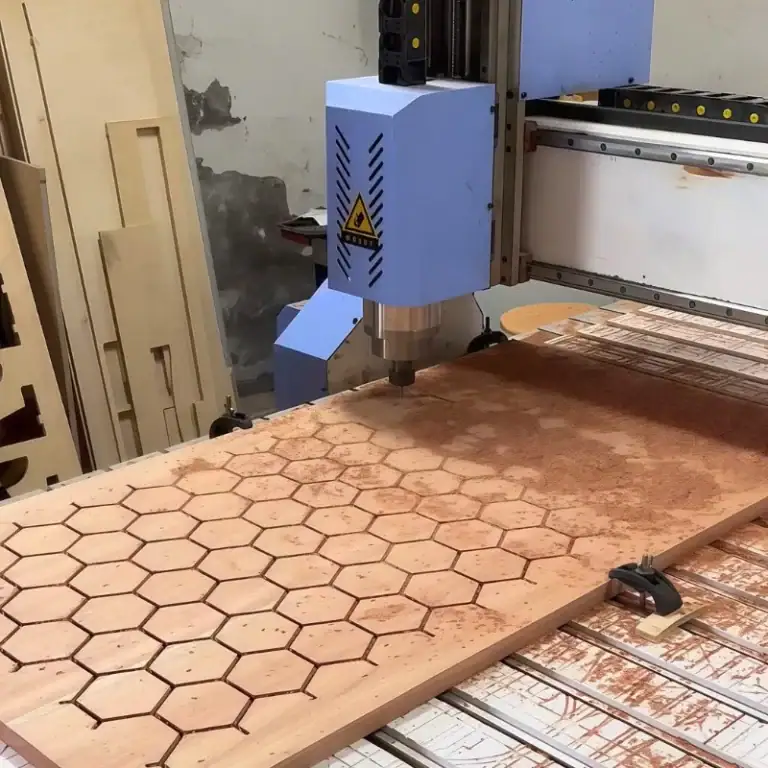
Manufacturing Processes: How Edges Are Made
So, how are these edges actually created?
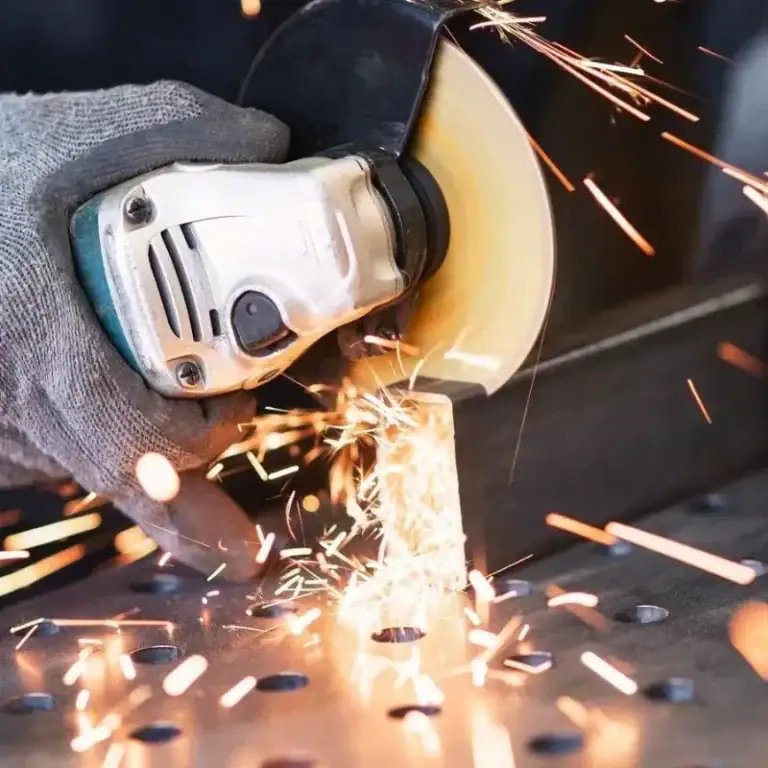
Chamfers are typically made through machining processes like milling, cutting, or turning, often using a specialized tool called a chamfer mill. Their angle and position are adjusted to get the desired bevel. For smaller or less critical parts, they can even be done manually using hand tools like grinding or filing.
Fillets are commonly produced using CNC milling machines, often requiring specialized end mills, possibly even ball end mills for concave features. As we mentioned, standard milling automatically creates internal fillets with a radius matching the tool. Fillets can also be created using Laser Cutting for materials like sheet metal, Stamping in metal manufacturing, and even directly in some advanced 3D printing technologies.
Choosing fillets and chamfers for precise use
Chamfers and fillets play an important role in the design process as a complement to the functional stage, as they each perform different functions depending on the purpose and performance of the part.
From a functional perspective, chamfers are, of course, an enhancement that reduces stress during fastening and reduces the risk of injury from sharp edges.
On the other hand, fillets work in engineering design to increase strength and flexibility. They reduce the risk of fracture due to hostile forces on the edge, while extending the life of the edge and reducing waste when it needs to be crushed.
Flexible use of edges not only enhances the overall look and feel of a product, but also improves its safety, performance and manufacturability.
Are you wondering if fillets and chamfers are more suitable for the part you are designing? Maybe you are optimizing your machining plan and want expert advice. In any case, you are on the right track. Tirapid’s experienced CNC team can provide you with professional machining services that perfectly match your plans. Whatever you need – machining guidance, specific high-quality services or detailed estimates, please don’t hesitate to contact us. We are eager to help you turn your ideas into reality.